
Creating tabs using DashBuilder
Blog: Drools & jBPM Blog
DashBuilder is a full-featured web application that allows non-technical users and programmers to create business dashboards.
Dashboard data can be extracted from heterogeneous sources of information such as Prometheus, JDBC databases, or regular text files.
The resulting dashboard can be deployed in a cloud environment using DashBuilder Runtime.
In this post, we will walk you through creating tabs using DashBuilder to facilitate better organization of your dashboards.

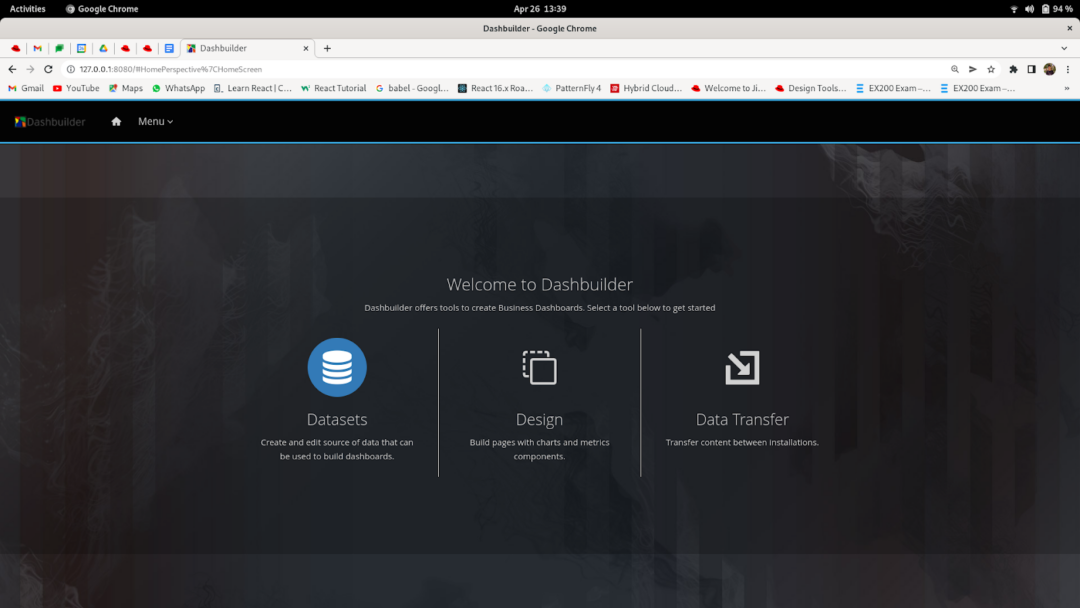
Home Page of dashbuilder
Adding dataset
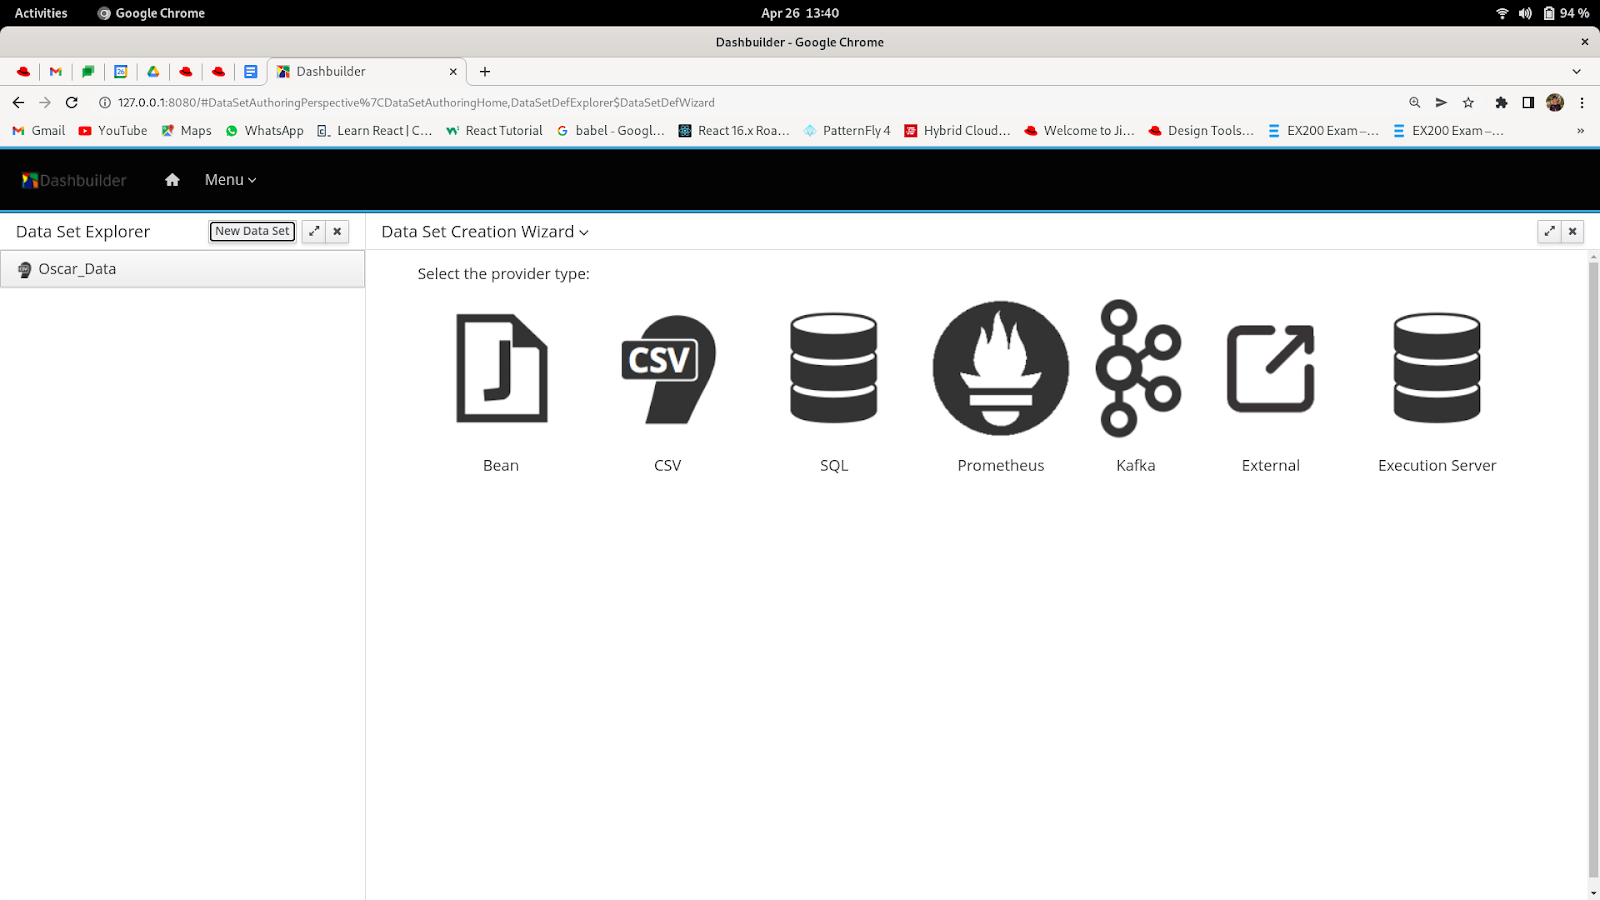
Step 1:- To create tablists, we should add a dataset to DashBuilder. Click on the datasets option and then click on the new dataset. You will get options for dataset types like Bean, CSV, Json, SQL,Prometheus, Kafka, External and Execution server. For this blog post, we will use CSV as an option.
Dataset List Page
Step 2: Select dataset type(we are using CSV as dataset for this example).Going forward to the next step, you will land on the following screen. Enter name for dataset, then select CSV file and then click on upload button which is beside the file select button. Enter the correct separation char(in this example comma (,) is separation char) and quote char(in this example comma (“) is quote char) and then click on the test button.
Dataset link:- https://www.kaggle.com/datasets/unanimad/the-oscar-award

Adding CSV Dataset
Step 3:- You will now get the following screen. If you want to remove some columns then unselect the columns else click on the Next button. Enter a comment and click on the Save button.
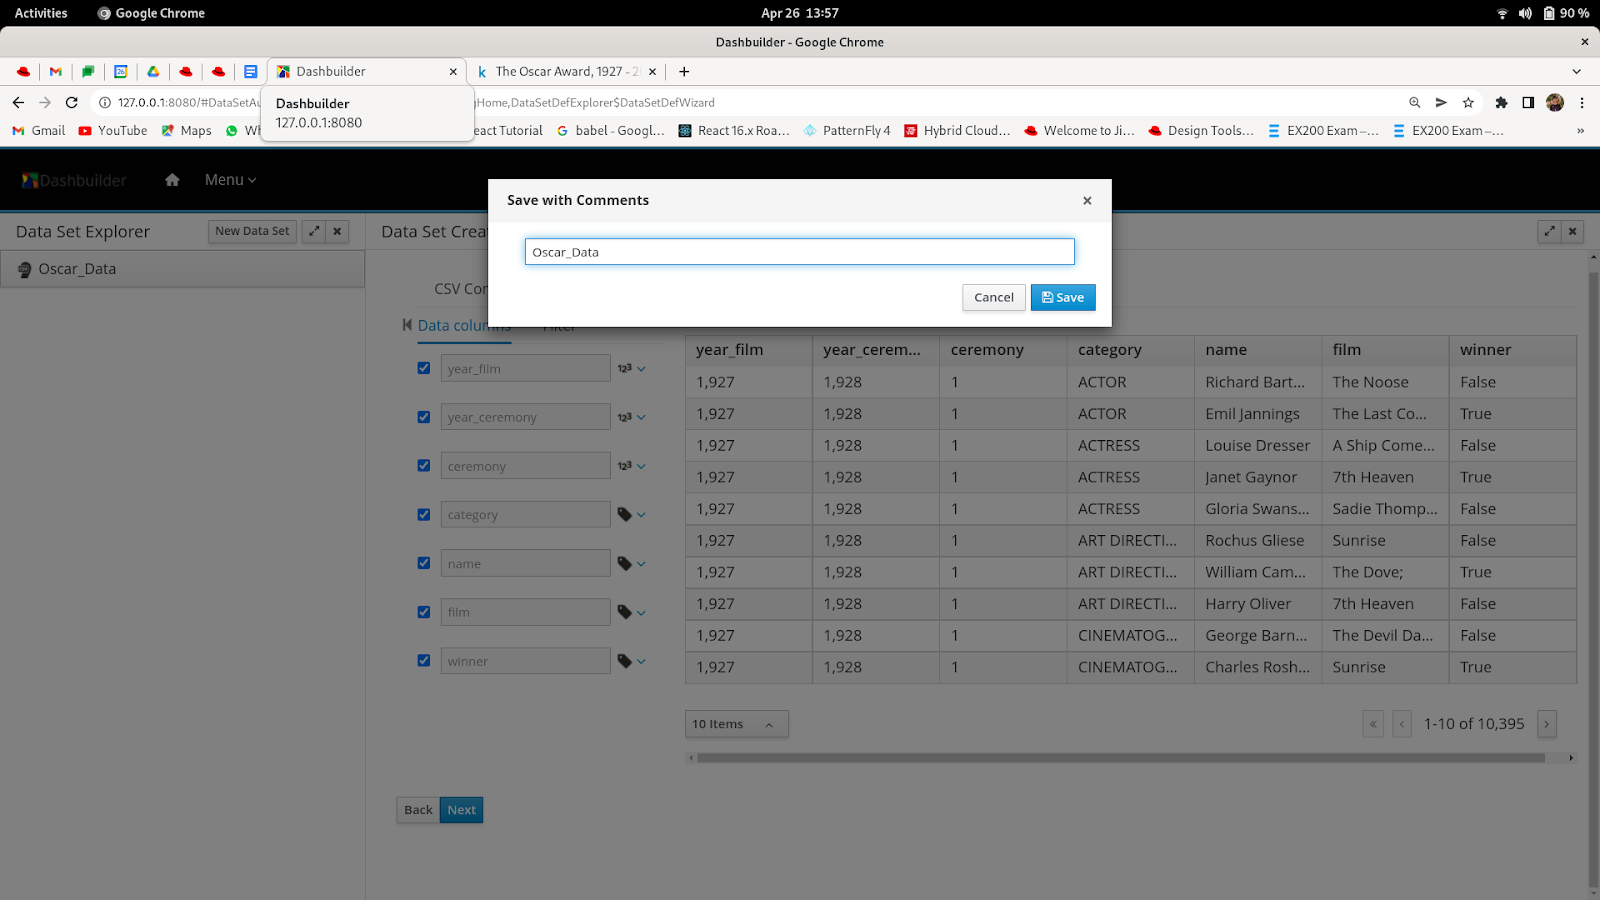
Finalizing columns in datasets
Creating New Pages and group for tablists:-
Step 1:- Creating new pages procedure is available in the following post:- https://blog.kie.org/2021/05/dashbuilder-getting-started-guide.html
Create 4-5 pages with some design in it so that we can create a tablist using the navigation page. After creating pages you will see following screen
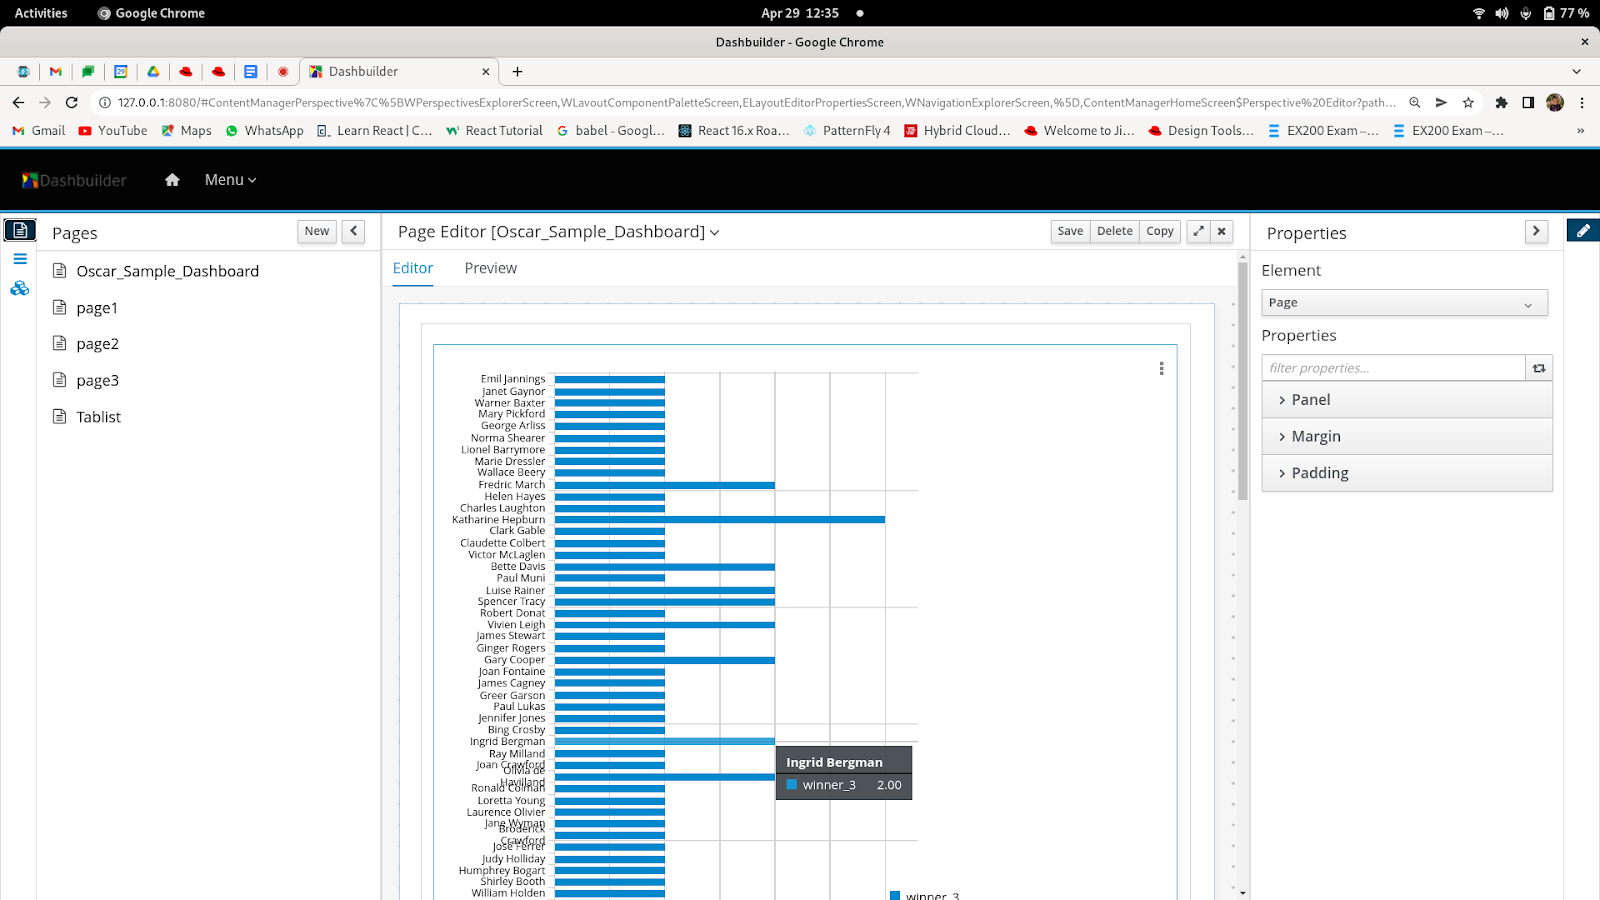
Create Pages to be added to tablist
Step 2:- Go to the navigation option icon which is just below the pages icon.
Navigation Page
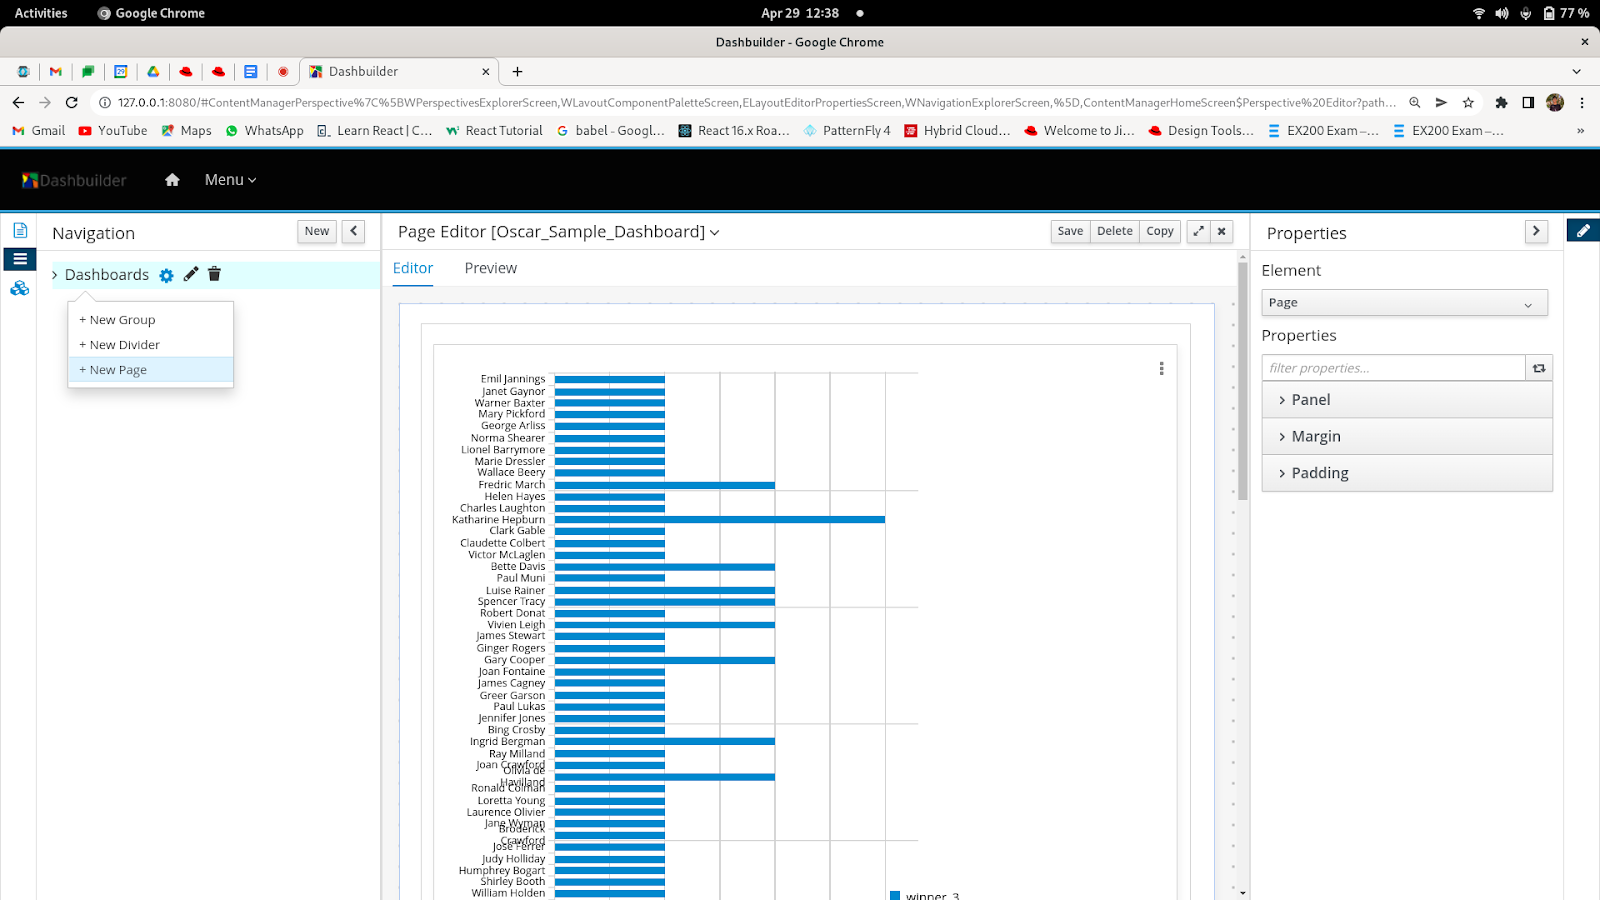
Step3:- Click on the setting icon in front of dashboards and click on the new group. And give a group name to it. Now, click on the setting icon again in front of your created group. Add pages which you have created earlier using the pages icon and select pages from the dropdown list.You can now add all the pages to the group.
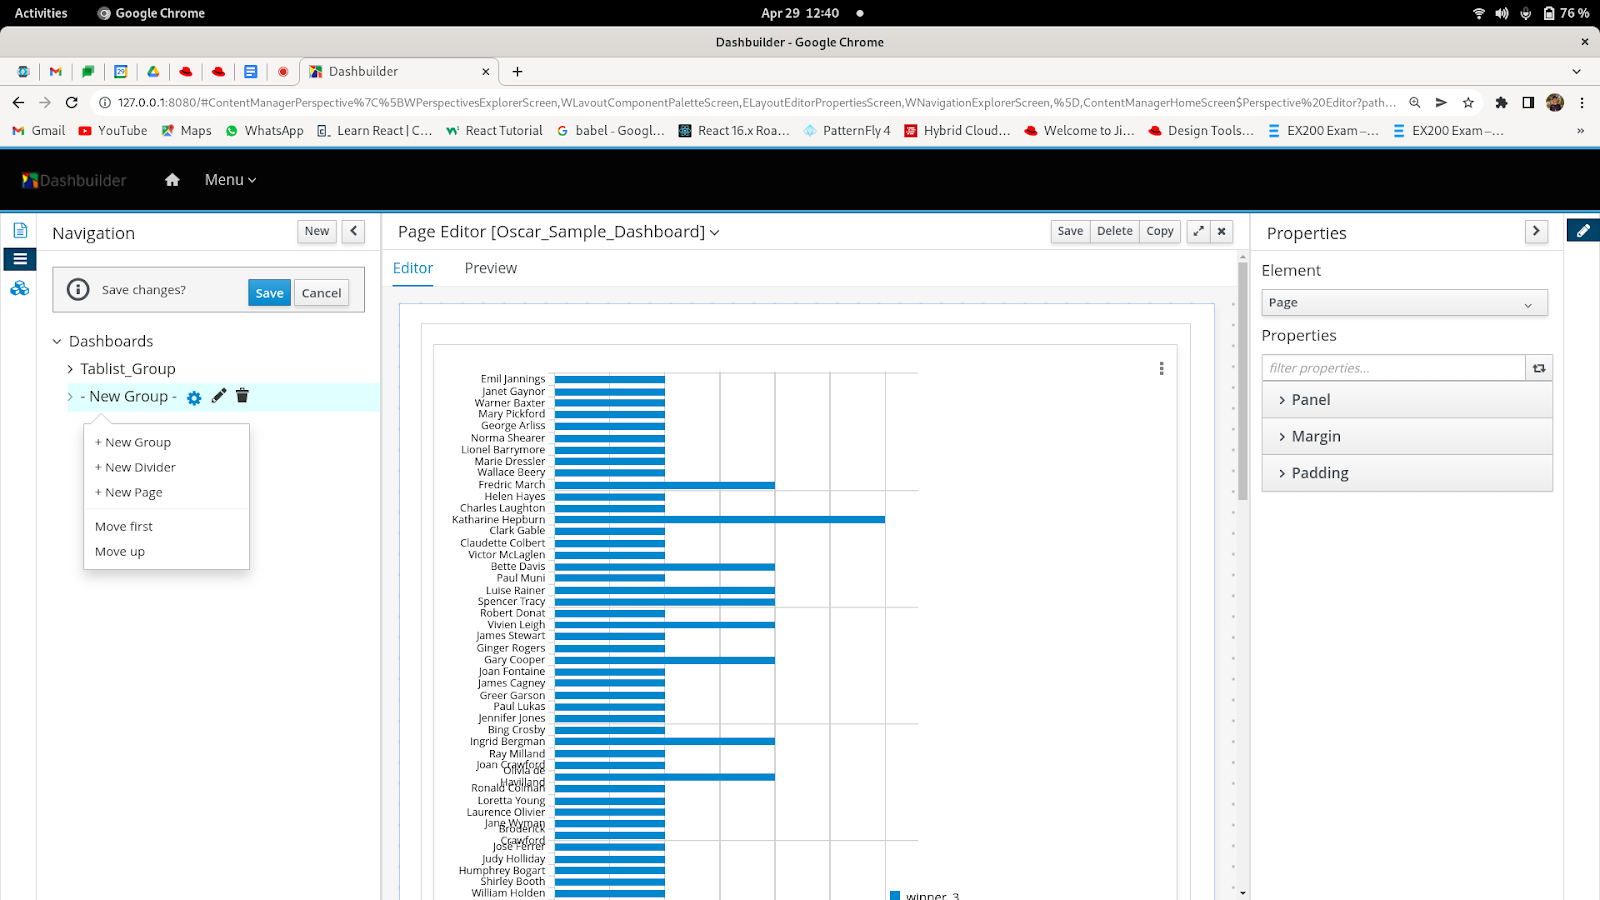
Creating new group
Creating Tablist:-
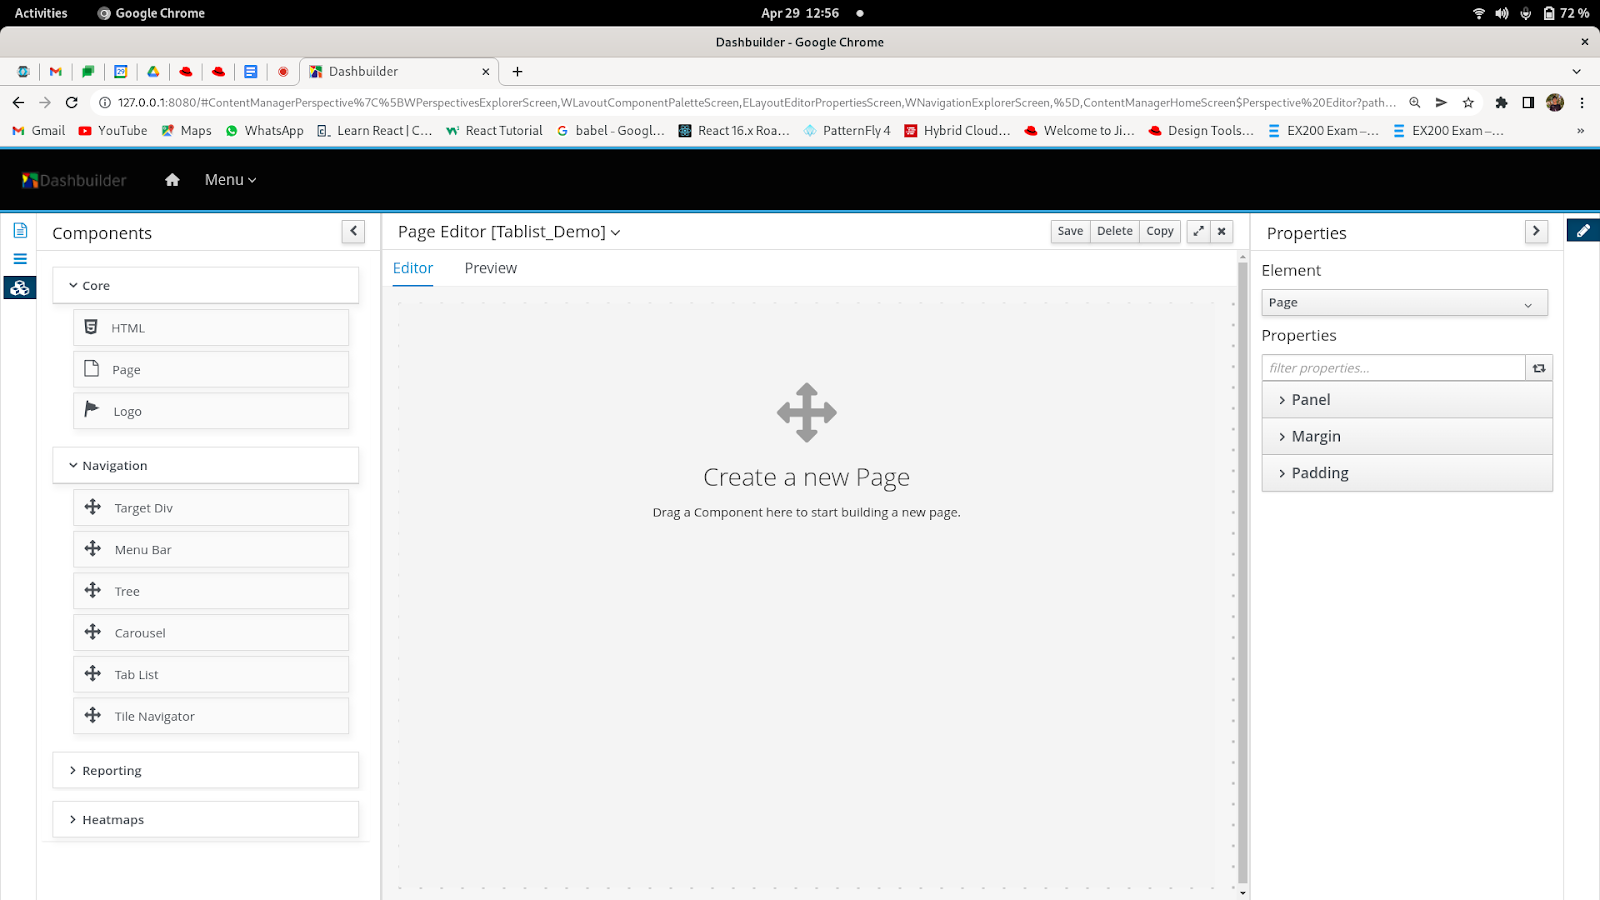
Step 1:- Go to pages option and create one page to add tablist to it. Then drag and drop target div to pages. Give it a name.
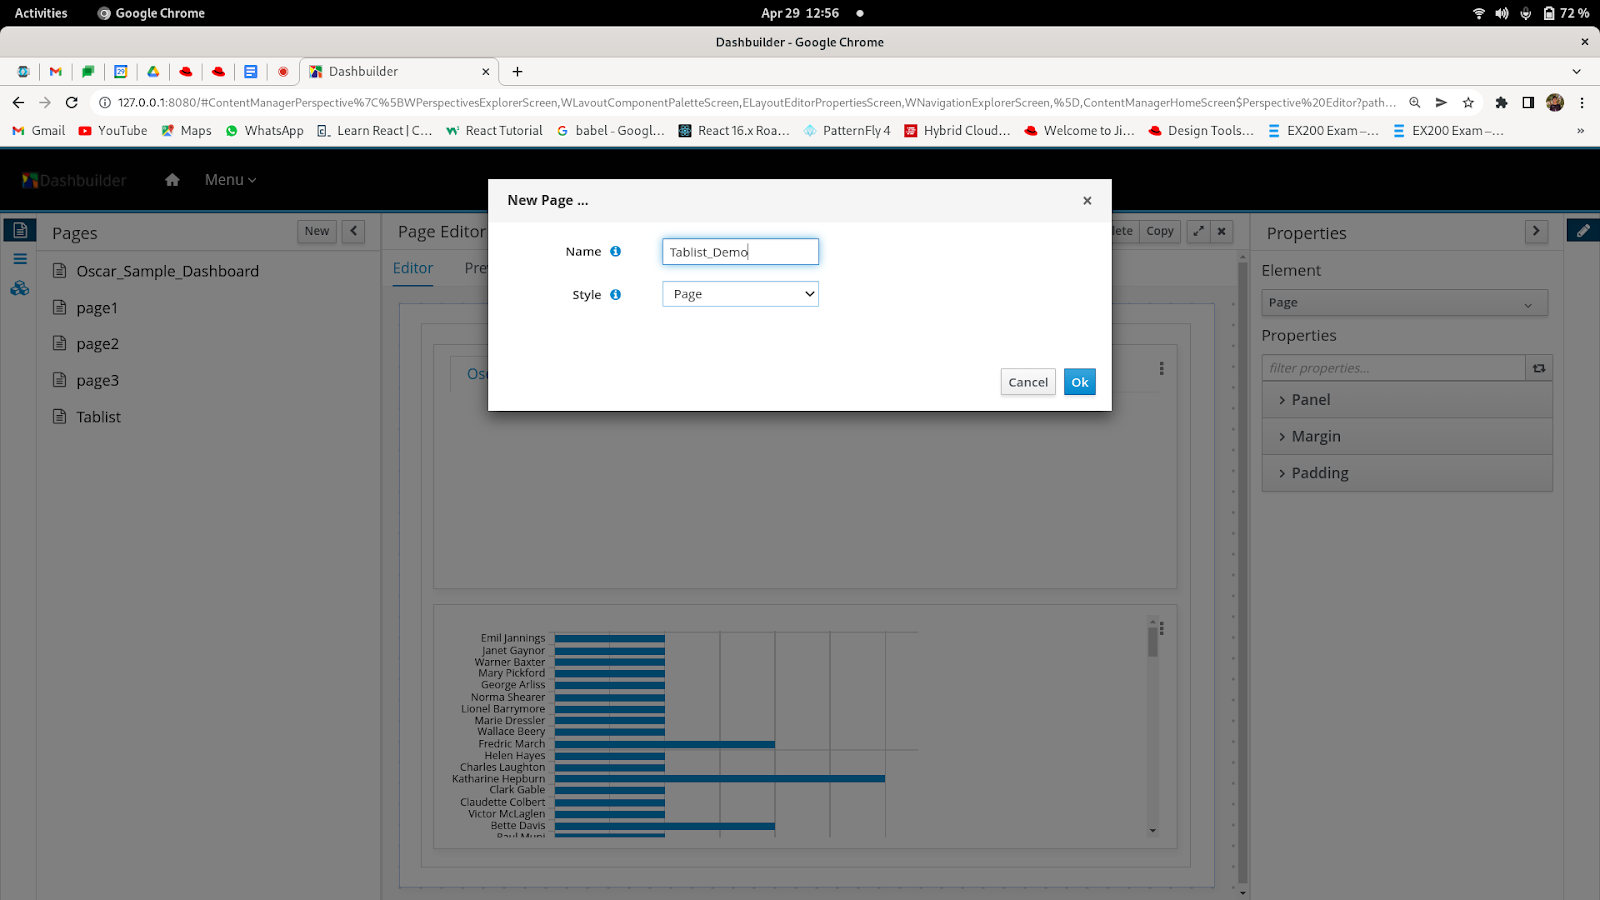
Creating new page to add tablist
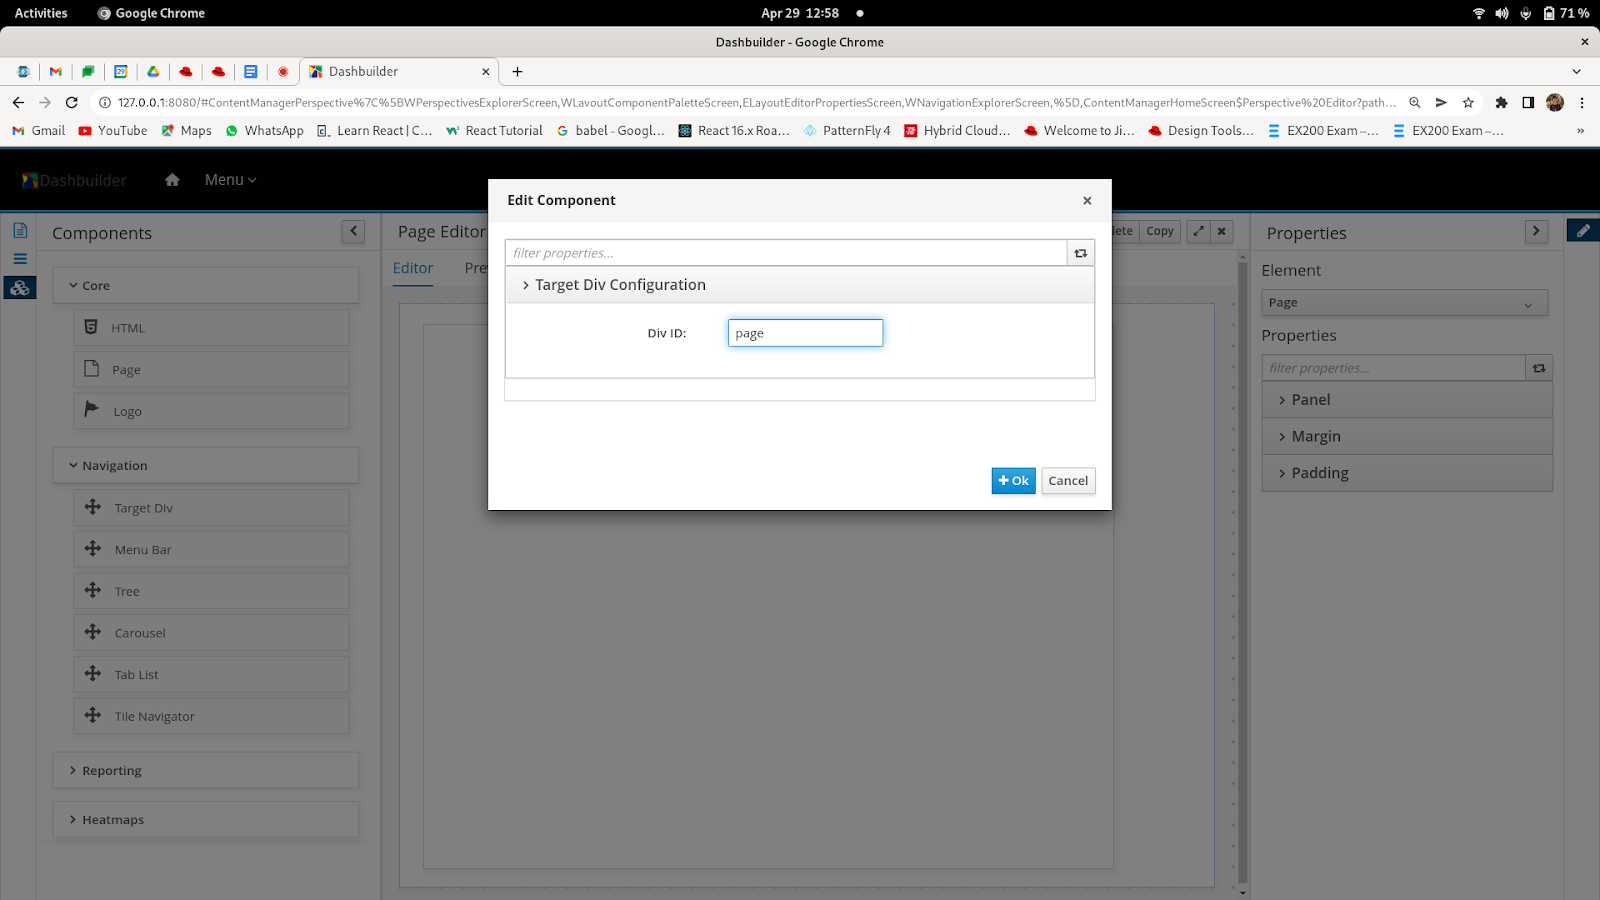
Adding target div to page
Step 2:- Under the navigation option drag and drop the Tablist to page. Select the proper group option then give the default page name and select the target div you created. Click on Ok . Your tablist will be created. The following pictures will explain this step fully.
Adding tablist to Page
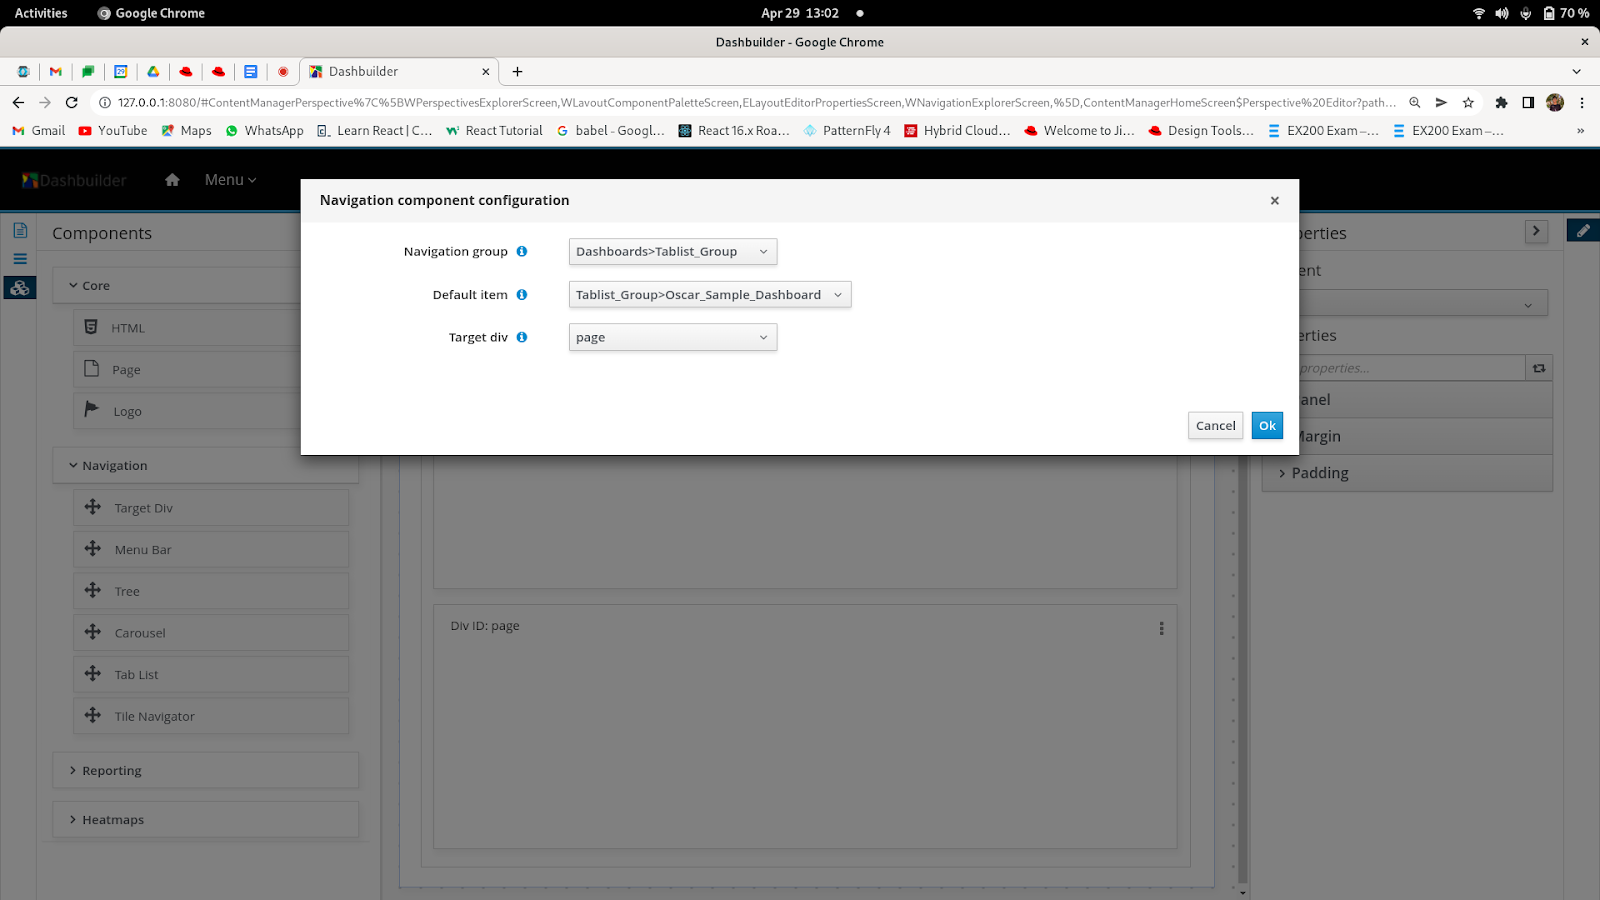
Creating new tablist
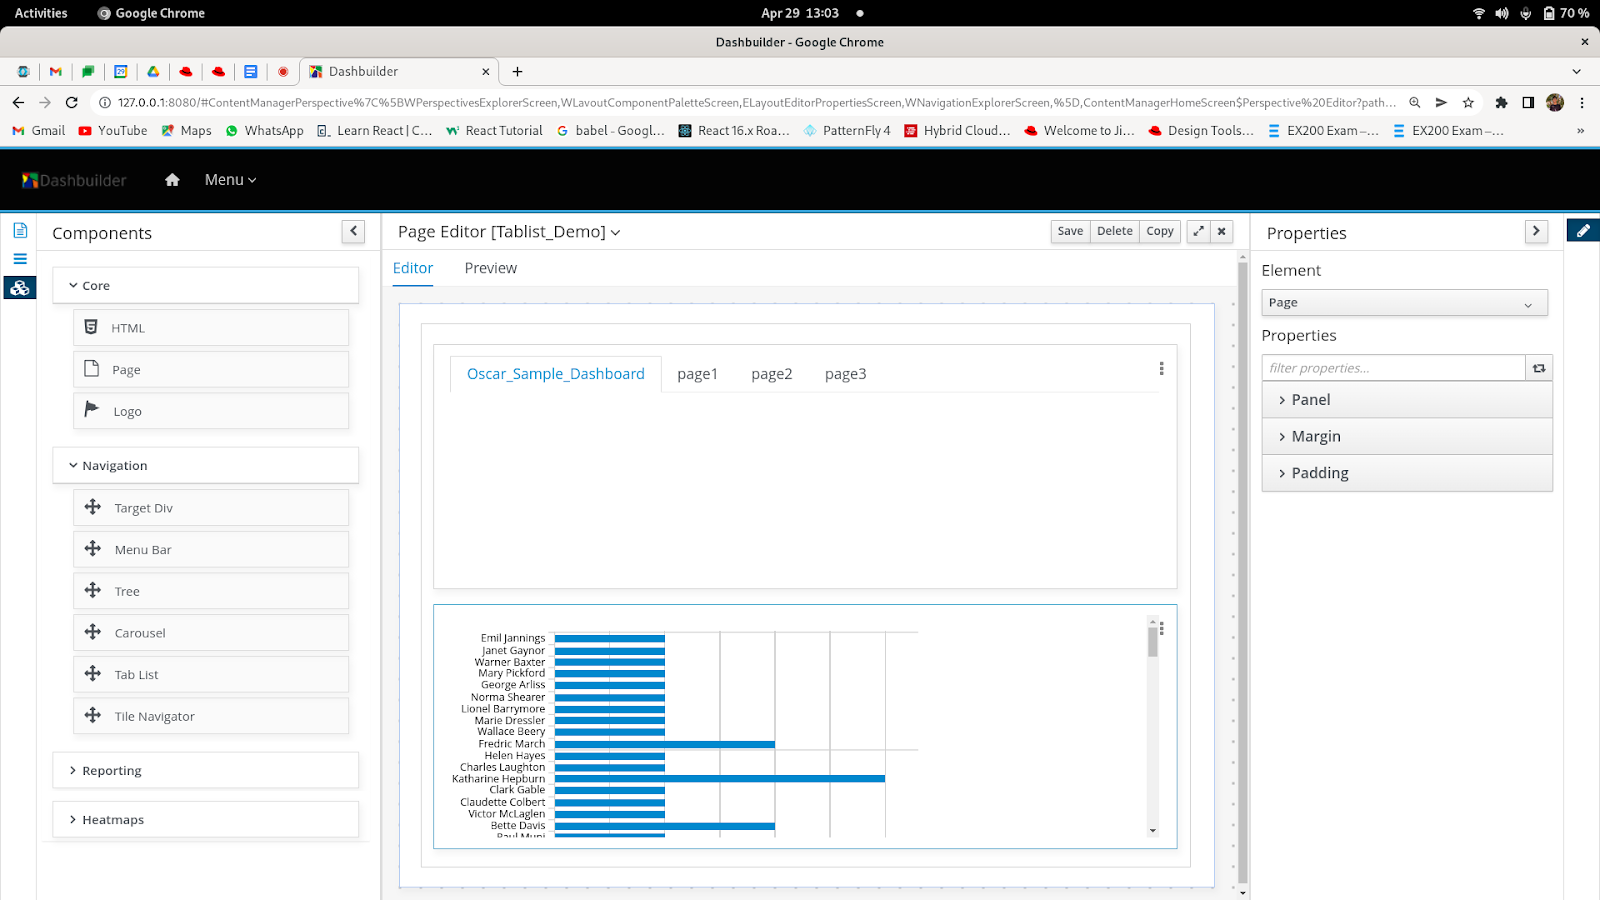
Tablist added
Conclusion:- This blogpost explains all the steps to create a tablist in DashBuilder.
Don’t forget to check out the newest addition to DashBuilder.i.e, the YML editor which doesn’t require any extra installation on your end. Creating a dashboard using pure YML from data from any JSON document is now possible using Dashbuilder! You are just required to head over to the Dashbuilder Online Editor and start your dashboard! You can check out the sample dashboards built using YML editor on the DashBuilder website. If you want to create your own dashboards, feel free to refer to the YML editor guide.
Feel free to explore all DashBuilder related articles on KIE blog and let us know in the comments section if this post was of some help.
The post Creating tabs using DashBuilder appeared first on KIE Community.
Leave a Comment
You must be logged in to post a comment.