What’s new with the Flowable UI Apps
Blog: Flowable Blog
Flowable has had example UI Apps for a while now. We decided to do some small improvements to make it easier for you to try them out and test the Flowable capabilities. From release 6.6, we are going to provide a single Flowable UI application that will contain the Flowable Task, Modeler, IDM and Admin UI apps. We have also added some UI Spring Boot starters so you can more easily bundle them together as you see fit:
- flowable-spring-boot-starter-ui-admin
- flowable-spring-boot-starter-ui-idm
- flowable-spring-boot-starter-ui-modeler
- flowable-spring-boot-starter-ui-task
When using these starters, keep in mind that we don’t guarantee the same backwards compatibility in the Java code and dependencies as with the core engines. These apps will always be based on the latest Spring Boot version (2.3.x for 6.6). These apps are also not officially supported and we rely on community contributions as much as possible here. They are meant to showcase the Flowable capabilities.
Authentication
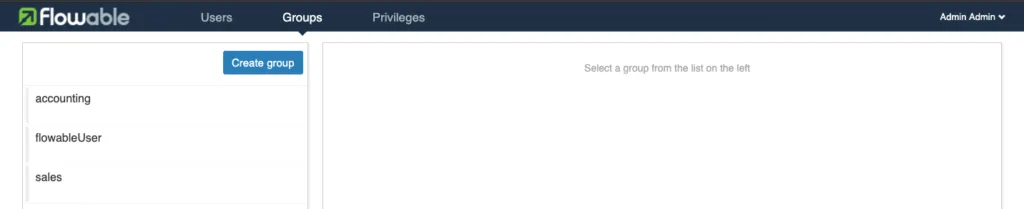
The default authentication used by the UI application is done via the IDM app. This works like a really simple rudimentary SSO. You can login with a username and password. When booting up the application, a default user (configured via properties is created). This uses the Flowable tables to store the users. It is also possible to use LDAP by setting the property flowable.idm.ldap.enabled to true and configuring the LDAP specific properties. This will then use LDAP to login into Flowable.
OAuth2
We’ve had several requests and Pull Requests from the community to support OAuth2 and Open ID Connect for logging into the apps. Consequently, in this release we are happy to say that we’ve made it easier to do this. Because our apps are Spring Boot apps we rely on Spring Security to achieve this functionality. In case you are interested in the code that added this functionality then have a look at this PR. In the next section we are going to explain how you can set up the UI Applications to authenticate with Keycloak and GitHub.
Keycloak
Keycloak is an open source Identity and Access Management solution. It makes it easy to secure applications and services with very little code. Detailed information about Keycloak can be found on their website. In the following we are going to show how we can authenticate with it and use it as a user store.
The easiest way to start with Keycloak is to use Docker, and this is what we are going to use to demonstrate the functionality. Have a look at the Getting started information on the Keycloak website for other options.
docker run -p 8081:8080 -e KEYCLOAK_USER=admin -e KEYCLOAK_PASSWORD=admin quay.io/keycloak/keycloak:11.0.0
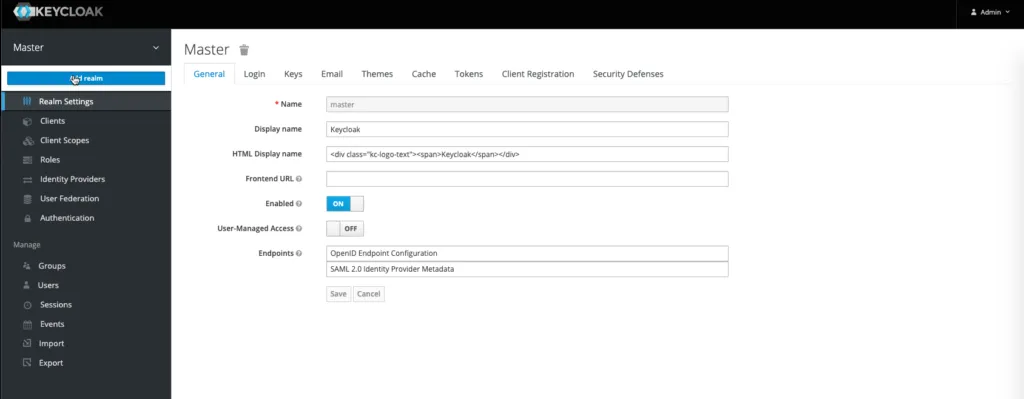
Running this command will start Keycloak on port 8081 with a default user admin with password admin. If you now head to http://localhost:8081/auth/admin/ and login with the default user you will see the default master realm. Let’s add our Flowable Realm.

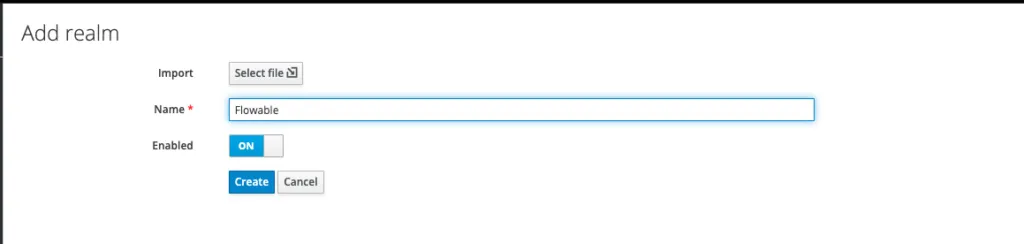
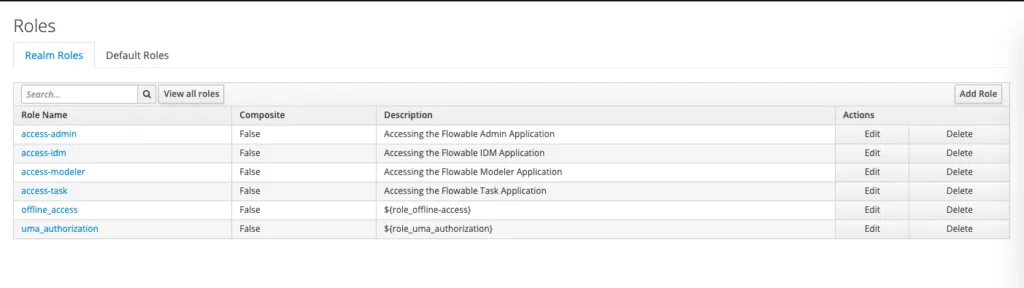
This will create a Realm with Keycloak’s default setup. Once you have this setup let’s add some roles for Flowable. Accessing the Flowable apps needs the following roles:
- access-admin – For accessing the Admin Application
- access-idm – For accessing IDM Application
- access-modeler – For accessing the Modeler Application
- access-task – For accessing the Task Application
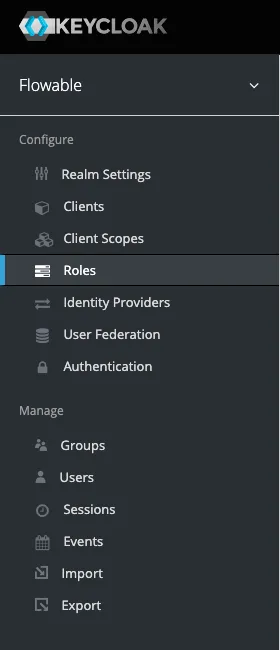
This can be done by heading over to Roles -> Add Role
Once you’ve created the roles you should see the following:
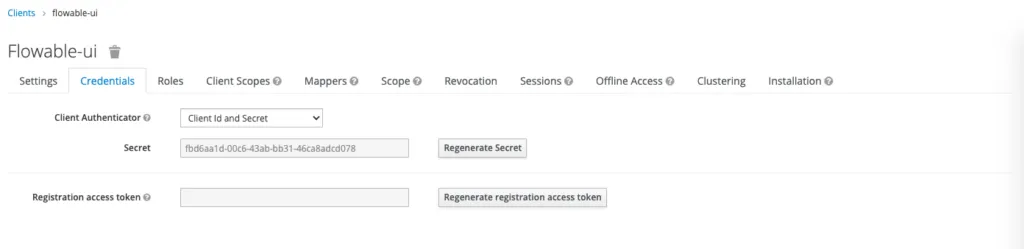
Next we will create a new flowable-ui client by heading to the Clients -> Create section
Once we’ve created this we will change the Access Type to confidential and save. After that, you should be able to see the Credentials section where the client secret is located.
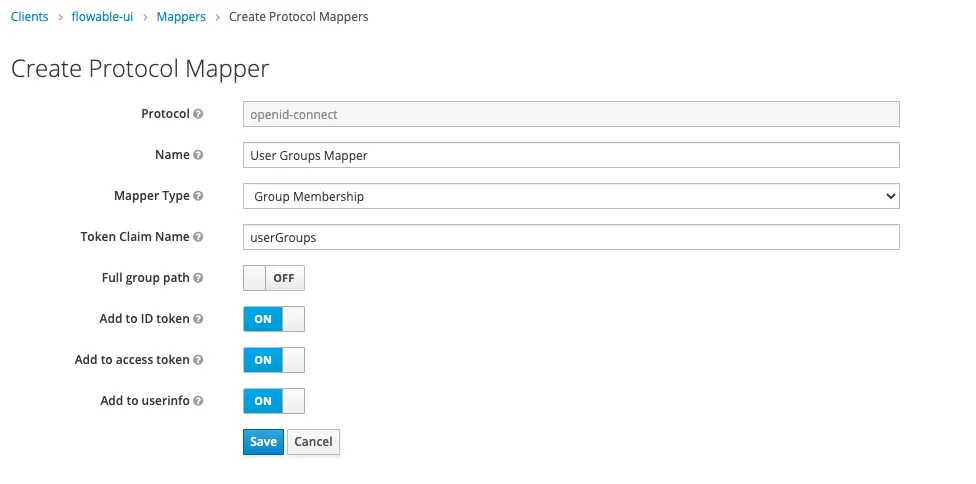
Next we are going to add a custom Mapper by heading into Clients -> Mappers -> Create. This mapper will include the groups in the Access token. This is done in order to avoid doing an extra call to get the groups for a logged in user.
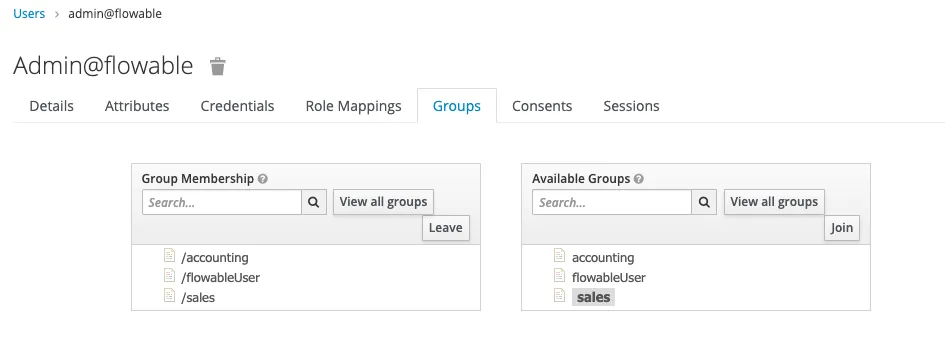
As a last step we need to create some Groups and Users.

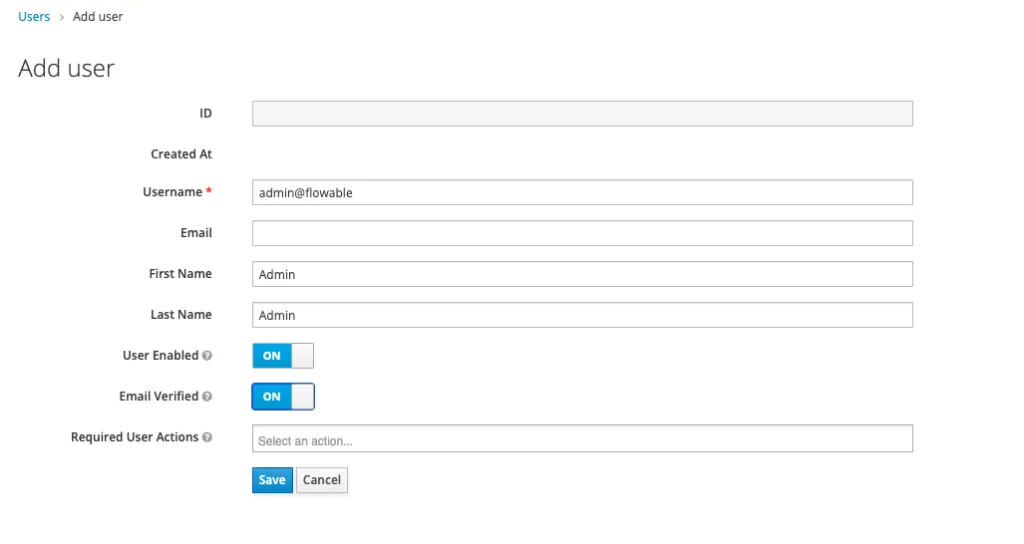
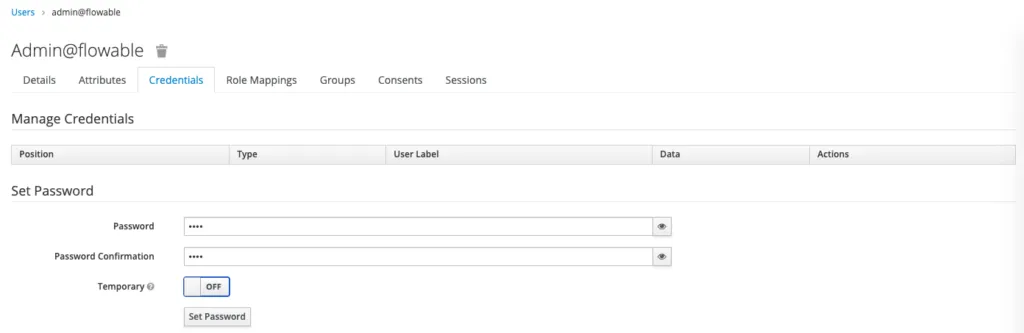
Once we have created the user, we need to set their credentials. We will set the password to test (as an example).
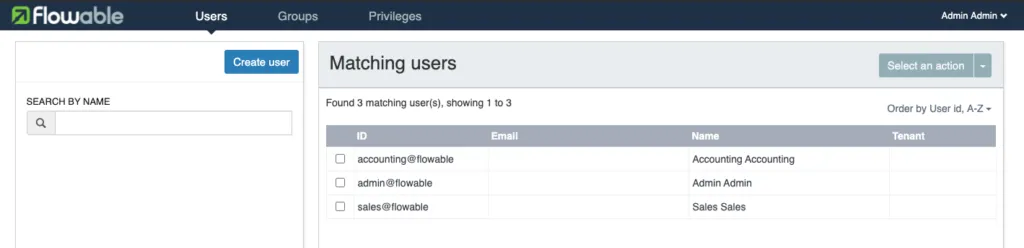
Once we’ve created our users we should see:

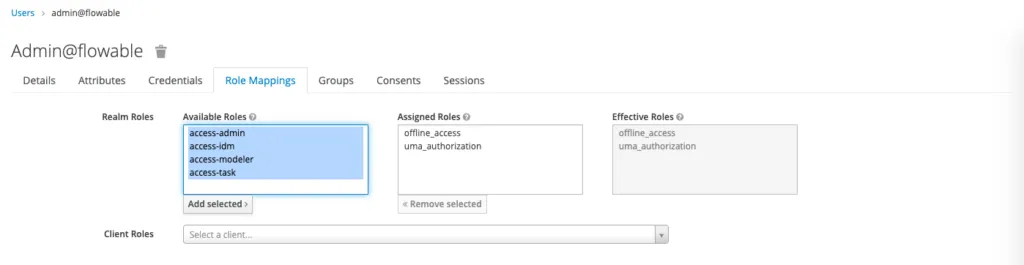
Before we continue, we need to assign roles and add the users to the groups. The admin@flowable user will have all roles and be a member of all the groups. The other users will only have the access-task role and be a member of their appropriate group. To do this, click on a user and go the the Role Mappings. Select the realms and add them.
With this, we have setup the Flowable Realm. You can also import the realm by using this file (TODO add link to file). You’ll still have to add the users and assign them to the roles / groups manually, because there is no Export for that. Let’s configure our application to use Keycloak now. For this, you will need to set the following properties in the application.properties in the Tomcat lib folder:
spring.security.oauth2.resourceserver.jwt.issuer-uri=http://localhost:8081/auth/realms/Flowable
spring.security.oauth2.client.registration.keycloak.client-id=flowable-ui
spring.security.oauth2.client.registration.keycloak.client-secret=<The Client Secret from Keycloak>
spring.security.oauth2.client.registration.keycloak.client-name=Flowable UI Keycloak
spring.security.oauth2.client.registration.keycloak.authorization-grant-type=authorization_code
spring.security.oauth2.client.provider.keycloak.issuer-uri=http://localhost:8081/auth/realms/Flowable
spring.security.oauth2.client.provider.keycloak.user-name-attribute=preferred_username

flowable.common.app.security.type=oauth
flowable.common.app.security.oauth2.authorities-attribute=groups
flowable.common.app.security.oauth2.groups-attribute=userGroups

flowable.idm.app.keycloak.enabled=true
flowable.idm.app.keycloak.server=http://localhost:8081/
flowable.idm.app.keycloak.authentication-realm=master
flowable.idm.app.keycloak.authentication-user=admin
flowable.idm.app.keycloak.authentication-password=admin
flowable.idm.app.keycloak.realm=Flowable
The properties with the spring.security.oauth2 prefix are Spring Boot properties and they are going to do the heavy lifting and configuration of the Spring Security Client registries. The properties with the flowable.common.app.security prefix are for configuring the Security of the Flowable UI application properties. With these, we set that the security type should be “oauth2”. We want to use the “groups” attributes from the user info to map the Keycloak roles (Keycloak stores the roles in the groups attribute) and we want to use the “userGroups” attribute to extract the Groups for the user (this will come from our custom User Groups Mapper). Finally, the properties with the flowable.idm.app.keycloak prefix are properties for the IDM app and are there to configure the Flowable Identity Service to use Keycloak instead of the database.
Once we have this setup we can start our application and head to http://localhost:8080/flowable-ui, we will be redirected to the Keycloak login page. Here we can login with our admin user (admin@flowable). Once the login is successful, we will be redirected to the Flowable UI. As we logged in with the admin user, we will see all the applications. If we head to the IDM app, we will see all users and groups that are part of Keycloak.
If we now logout and login with the sales@flowable user, we are only going to see the Task app. Keycloak has a lot of functionality and it is possible that we are not using everything that is available. We are more than happy to accept contributions that are going to improve our Keycloak integration!
GitHub
In the previous section we showed how we can integrate with Keycloak. However, our implementation is not tied with Keycloak. Therefore, in this section we will show how we can use GitHub as an Identity source to authenticate for the Flowable UI application. Before we start the setup on the Flowable side, we will need to create our own GitHub OAuth App. The best way to do it is to follow this guide from GitHub. Once we have our GitHub App created, we can configure our application to use it. For this you will need to set the following properties in the application.properties file in the Tomcat lib folder:
spring.security.oauth2.client.registration.github.client-id=<The Client id of the GitHub App>
spring.security.oauth2.client.registration.github.client-secret=<The Client secret of the GitHub App>

flowable.common.app.security.type=oauth2
flowable.common.app.security.oauth2.default-authorities=access-task
flowable.common.app.security.oauth2.default-groups=flowableUser
flowable.common.app.security.oauth2.full-name-attribute=name
flowable.common.app.security.oauth2.email-attribute=email
The properties with the spring.security.oauth2 prefix are Spring Boot properties and they are going to do the heavy lifting and configuration of the Spring Security Client registries. As GitHub is a known authentication provider, we only need to set the clientId and clientSecret. Spring Boot will do the rest for us. The properties with the flowable.common.app.security prefix are for configuring the Security of the Flowable UI application properties. With them we set that the security type should be “oauth2”. As GitHub is not an OIDC Authentication Provider we need to provide the fullNameAttribute and emailAttribute, “name” and “email” respectively. When using GitHub we can’t add custom roles so we are configuring the defaultAuthorities (“access-task”) and defaultGroups (“flowableUser”) that every logged in user can get; these can be a comma-separated list of values.
Once we have this setup we can start our application and head to http://localhost:8080/flowable-ui, which will be redirected to the GitHub login page. Here we will login with our GitHub user. Once the login is successful, we will be redirected to the Flowable UI and will now see the task app. Keep in mind that you won’t be able to see full names of all users, because we don’t have an implementation that uses GitHub as an identity service.
Conclusion
Our 6.6 release is packed with new core engine features and our example UI was overhauled to demonstrate how to use OAuth2 authentication. The customizable implementation was possible due to the fact that we are using Spring Security and Spring Boot. As we said at the beginning, we are more than happy to accept contributions from the community that would improve the UI application.