Serverless Logic Web Tools support to OpenAPI and AsyncAPI specifications
Blog: Drools & jBPM Blog
While editing Serverless Workflow files, you can register OpenAPI endpoints and AsyncAPI channels and pass them as functions. These functions will be available on the Serverless Workflow Editor’s Service Catalog Explorer. This article explains how one can link OpenAPI and AsyncAPI specifications and have their functions available through autocomplete.
This feature is available both on Serverless Logic Web Tools and the VS Code extension. On Web tools, the API specifications can be linked via external registries.
Service Catalog in Web Tools
You can access the Serverless Logic Web Tools here. Before creating a workflow, you must download and start the Extended Services.
Starting Extended Services
Procedure:
- In the Serverless Logic Web Tools web application, click on the cogwheel (⚙️) in the top-right corner and go to the “KIE Sandbox Extended Services” tab.
- Select the “Click to setup” option.
- Select your operating system from the dropdown.
- Click on the “Download” option highlighted.
- The kie_sandbox_extended_services__. file will be downloaded. Follow the instructions provided therein for moving the downloaded app.
- Click the next button and follow the instructions provided there to open the application.
Some of the features in Serverless Logic Web Tools require integration with Red Hat OpenShift Application and Data Services. Now, in the Red Hat OpenShift application and Data Services, let us create a service account.
Creating a service account
You can create or use a service account from your Red Hat OpenShift Application and Data Services console and add the service account to the Serverless Logic Web Tools.
Prerequisites
- You have access to the Red Hat OpenShift Application and Data Services console.
Procedure
- To create a service account in Red Hat Openshift Application and Data Services, perform the following steps:
- Go to Service Accounts | Red Hat OpenShift Application and Data Services.
- Click “Create Service Account.”
- Enter a service account name in the Short description field of the Create a Service Account window.
- Click Create.
- A modal displaying your client ID and client secret appears.
- Copy and save the client ID and client secret.
- Check that I have copied the client ID and secret checkboxes, and click Close.
- If you already have a service account, find your client ID and client secret.
- In the Serverless Logic Web Tools, click on the cogwheel (⚙️) in the top-right corner and go to the Service Account tab.
- Enter your client ID and client secret in the respective fields.
- Click Apply.
- The content in the Service Account tab updates and displays Your Service Account information as a set message.
Creating a service registry
You can create or use a Service Registry instance from your Red Hat OpenShift Application and Data Services console and add the Service Registry to Serverless Logic Web Tools.
Prerequisites
- You have access to the Red Hat OpenShift Application and Data Services console.
- You have created a service account.
Procedure:
- To create a Service Registry instance in Red Hat Openshift Application and Data Services console, perform the following steps:
- Go to the Service Registry | Red Hat OpenShift Application and Data Services.
- Click the “Create Service Registry Instance” button.
- Enter a Service Registry instance name in the Create a Service Registry Instance window and click Create.
- The list of Service Registry instances updates with your instance.
- Find the Service Registry instance you created in the list and click on it.
- Go to the Settings tab and click on “Grant access.”
- In the drop-down, select the service account you created in the previous procedure.
- Select a role for your service account.
- Click Save.
- Click on the menu in the top-right corner of the screen.
- Click Connection.
- A drawer opens, containing the required connection and authentication information.
- Copy the value of the Core Registry API.
- If you already have a Service Registry, find the value of the Core Registry API of your Service Registry.
- In the Serverless Logic Web Tools web application, click on the cogwheel (⚙️) in the top-right corner and go to the Service Registry tab.
- Enter a name for your registry. You can enter the same name that you used while creating the Service Registry instance.
- Enter the value of the Core Registry API and click Apply.
- The Service Registry tab’s content updates and displays your Service Registry information in a predefined message.
Upload the API Specification
Once you have the Service account and Service registry created, you are set to upload the API specification file, which could be an OpenAPI or an AsyncAPI.
Procedure:
- On the OpenShift Application Console, go to the Service Registry instance that you created.
- Click the Upload Artifact button, and a modal window opens.
- On the modal, enter the group and artifacts ID, which are mandatory fields for usage in the Serverless Workflow Web Tools.
- You can choose type from the dropdown menu, or you can leave the default option Auto-Detect alone.
- In the artifact section, you can browse or drag and drop the API specification file, or you can also copy-paste the content directly into the text area.
- Finally, click “upload.”
Accessing the Service Catalog on Web Tools
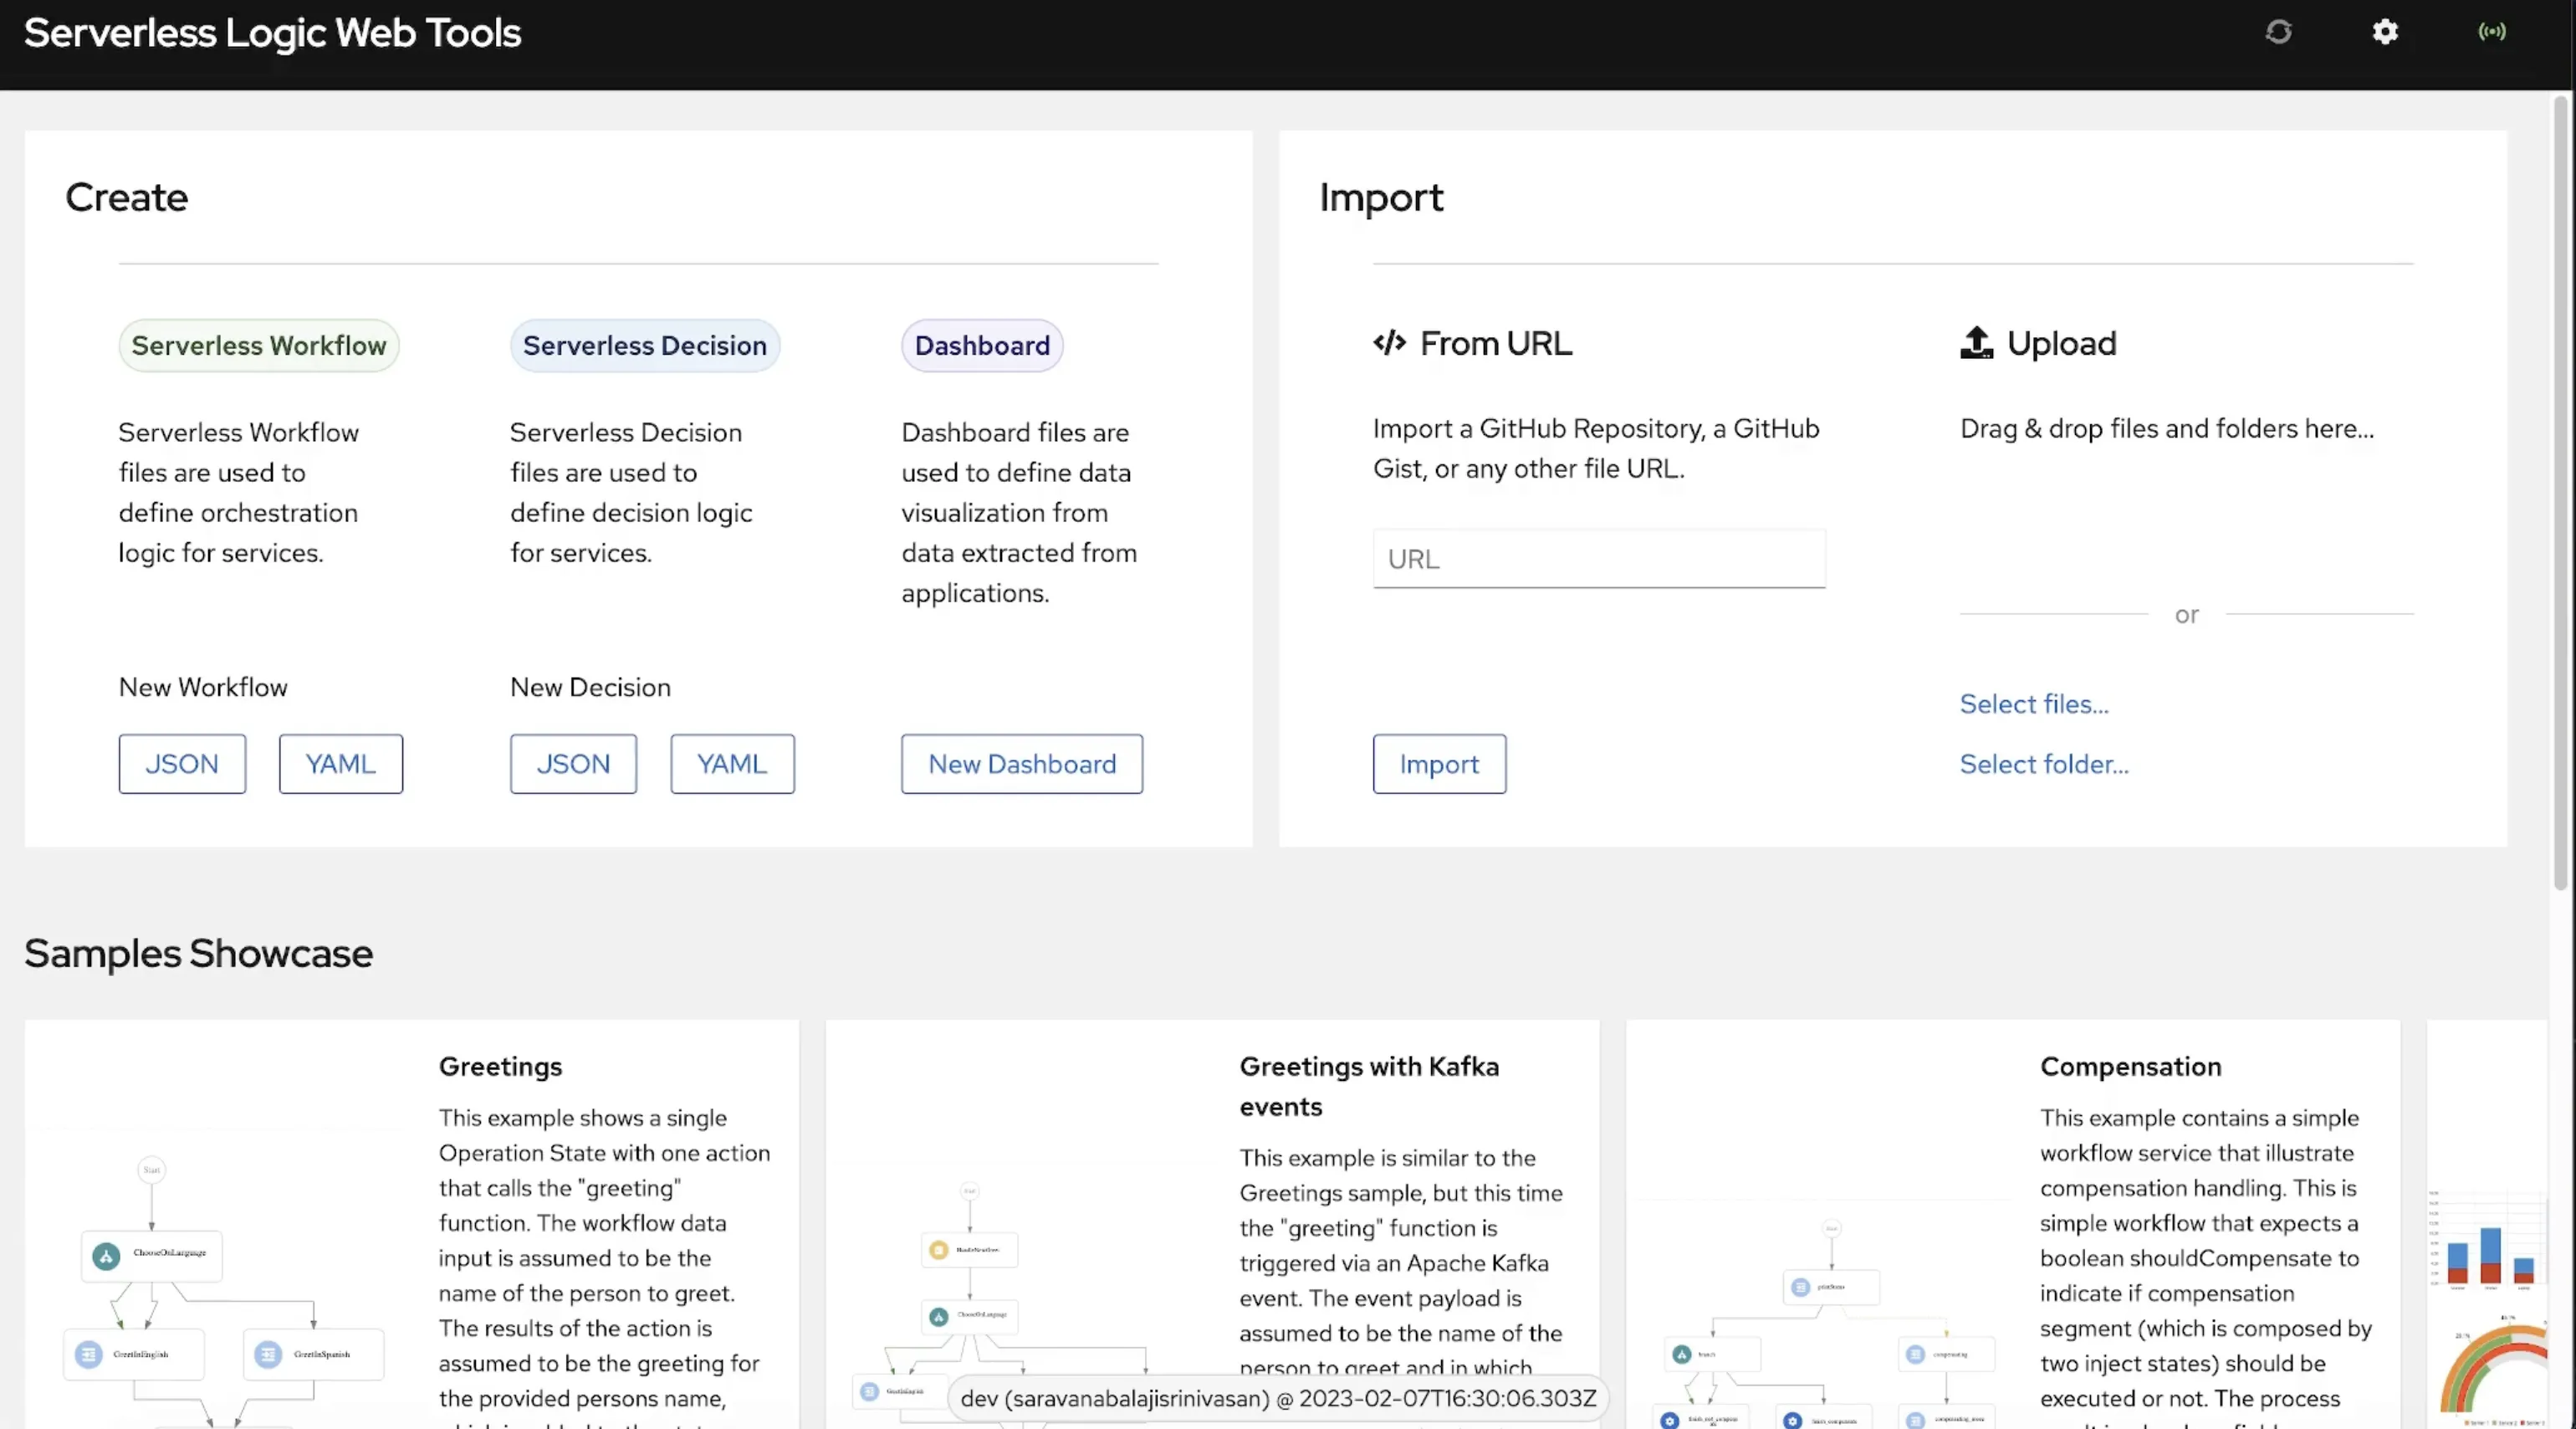
When you have all the prerequisites ready, it is possible to create a workflow and try the Service Catalog feature. You can create a new workflow by clicking the JSON or YAML button on the home page. An untitled document will be opened.
You can click on the Create a Serverless Workflow option to generate a basic template workflow. Just above the functions property, there will be an Add Function option.
When you click that option, a side widget containing a list of function suggestions will appear. These functions are extracted from the API specification files that you uploaded on the Red Hat OpenShift Application Console. When you select a particular function, it will automatically generate auto-filled name, operation, and type properties.
That is all for now, soon we will have an article demonstrating the Service Catalog in the Serverless Workflow Editor VS Code extension. Stay tuned!
The post Serverless Logic Web Tools support to OpenAPI and AsyncAPI specifications appeared first on KIE Community.