
How to develop better web widgets with showcase applications
Blog: Drools & jBPM Blog
When I was approaching the new Boxed Expression Editor development, the first challenge I faced was integrating an independent and isolated React component within an existing application.
It turned out that defining in a precise manner what is the input and the output of such an editor was a mandatory step to follow.
Let’s explore better the concept of a showcase application and how it is possible to build one.
In general, instantiating a React component in a separated application leads to a series of benefits discussed below.
Showcase app – Structure
When we talk about showcase applications, we mean a simple React application shipped with the component we are working on (in our case, the BoxedExpressionEditor).
In a possible setup, the showcase directory is contained inside the root directory of the component. The wire connecting the showcase with the BoxedExpressionEditor is a link (named lib) pointing to ./../../src (i.e., BoxedExpressionEditor’s source folder).
Below, you can find the overall folder structure:

On the other side, a different approach could be to publish the BoxedExpressionEditor on an npm registry and to use it as a dependency in a separate showcase application. However, even if it is more formal, that approach leads to an overhead due to publishing and downloading the component every time you need to change it.
How can I launch my React component with a showcase application?
First, consider that the showcase application can be as simple as you need.
For our example, you need to add two dependencies: react-scripts and react-app-rewired.
In the most simple version, the showcase has only two npm scripts:
- start: launches the React application (react-app-rewired start).
- build: builds a deploy-ready version of the overall application (react-app-rewired build). We will see how to use such artifacts later.
In the root source file (typically index.tsx, depending on your project setup), you will import the component by referencing the lib folder: import { BoxedExpressionEditor } from "./lib";
In that way, you can render it in a given DOM node (let’s call it root) with the command:
ReactDOM.render(<BoxedExpressionEditor expressionDefinition={expressionDefinition} pmmlParams={pmmlParams} />, document.getElementById("root"));
In the end, you can simply execute the start script for having the showcase application, with your component, up and running!
How does my React component receive input and propagate output?
How the React component communicates with the external world should be well defined, and its design can help figure out integration issues.
As every React component, it receives, as input, component properties used for the initial state. The BoxedExpressionEditor, in the example above, expects two parameters: expressionDefinition and pmmlParams: two simple objects.
When something inside the component changes and we need to communicate it to the external world (for synchronization purposes, for example), a React component generally triggers a callback (received in the properties) passing its updated state.
In this case, the chosen output mechanism is slightly different because we want to ensure that the React component can communicate adequately with another technology (like GWT). Therefore, there is a dedicated JavaScript namespace, for example, called beeApi, containing all functions that the BoxedExpressionEditor will call and it is expecting that someone, in the external world, has defined:
//Defining global function that will be available in the Window namespace and used by the BoxedExpressionEditor component
window.beeApi = {...//functions...}
The showcase application will implement all these functions like the real-world hoster application will do. Thus, all described above is a contract between the React component and whoever will use it. You can enforce this contract by using TypeScript, and start-up checks, as well.
Quickly share your React component with stakeholders
While developing a component that will be relevant for many people, you will find out that it is necessary to find a quick way to share the results of your work to get feedback and concerns as soon as possible. In that way, you can apply incremental changes following Agile principles.
For sure, it is not possible to ask someone to check out and build locally the showcase application, especially if they are not confident with git or yarn commands.
In that scenario, a static deployed website can help.
There are several places where you can host a static website.
Here we are going to explore two alternatives. It is just a starting point for helping you find the one that fits better with your needs.
GitHub pages
A simple way to host a static web application is by using the GitHub pages feature. It enables you to build a website from scratch or generate one for your project.
To host a React application, you need to:
- First, install gh-pages as a dev dependency.
- Create the homepage entry in the package.json file. That entry will be something like
http://{username}.github.io/{repository}, where username is the GitHub username and repository is the repository where React application’s codebase is. - Add the scripts
"predeploy": "yarn build"and"deploy": "gh-pages -d build".
Once you run the command yarn deploy, you will create a branch named gh-pages that will host the React application on the homepage reported on the package.json.
Netlify
There are at least three ways to deploy a React application to Netlify.
Let me describe the one I prefer that gives me the best control over what I want to deploy:
- Run the command yarn build to create the build folder.
- In the deploys section of the Netlify webpage, drag-and-drop the build folder in the corresponding section:
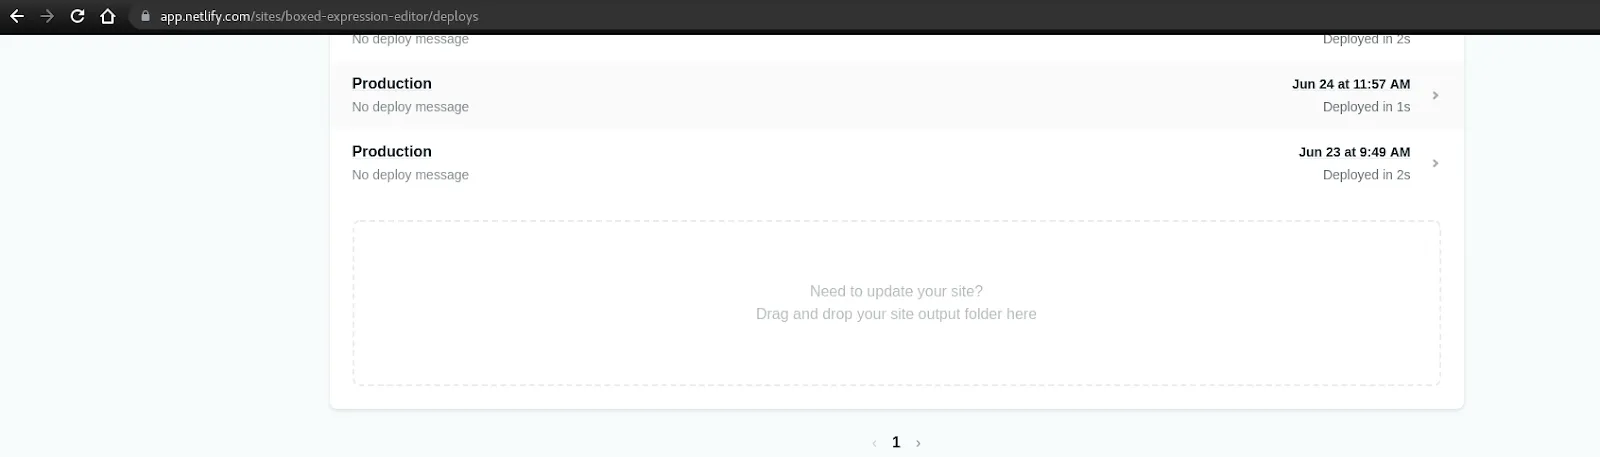
After a few seconds, your static application will be available and ready to be shared!
Watch and edit your React component’s definition as if you already integrated it
It is very likely that your React component will receive data points representing the initial state and that it will send, in some way, some data back on certain events.
Whatever data it will treat, you can find a strategy to represent them in a structured way. For instance, even if the DMN decision models are interchangeable across organizations via an XML representation, you can use, e.g., the JSON representation for instantiating a DMN editor, thanks to the abstraction and layer separation you will build.
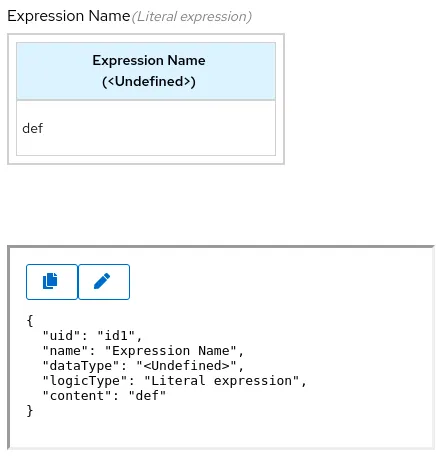
Add a section in the showcase application for watching the component definition
During the development phase, you can link a text area anywhere in your showcase application containing the definition related to the component you are presently observing, just for your convenience.
In that way, you can always take a snapshot of your component, for example, for debugging purposes.
React offers very flexible mechanisms for sharing the same object between the target component and a textarea. Shared status, with re-rendering on their changes, can be obtained via the useState hook.
Type the component definition directly in the showcase application
Imagine you are at the point you were able to reproduce a problematic scenario that requires a few minutes to be built via manual steps.
Ok, you can wrap it in your application, mocking the data the component receives as input. Or you can write a dedicated automation test case covering this corner case.
Then, you found another complex scenario, and you want to switch between one scenario and another, etc.
Why should you not type (or paste) a JSON definition directly into the showcase application that makes the showcase re-render the component contained in it?
You can easily do it with React! Other than using the useState hook, you can make your application reactive, on definition text change, using the useEffect hook to perform a side effect on some state change.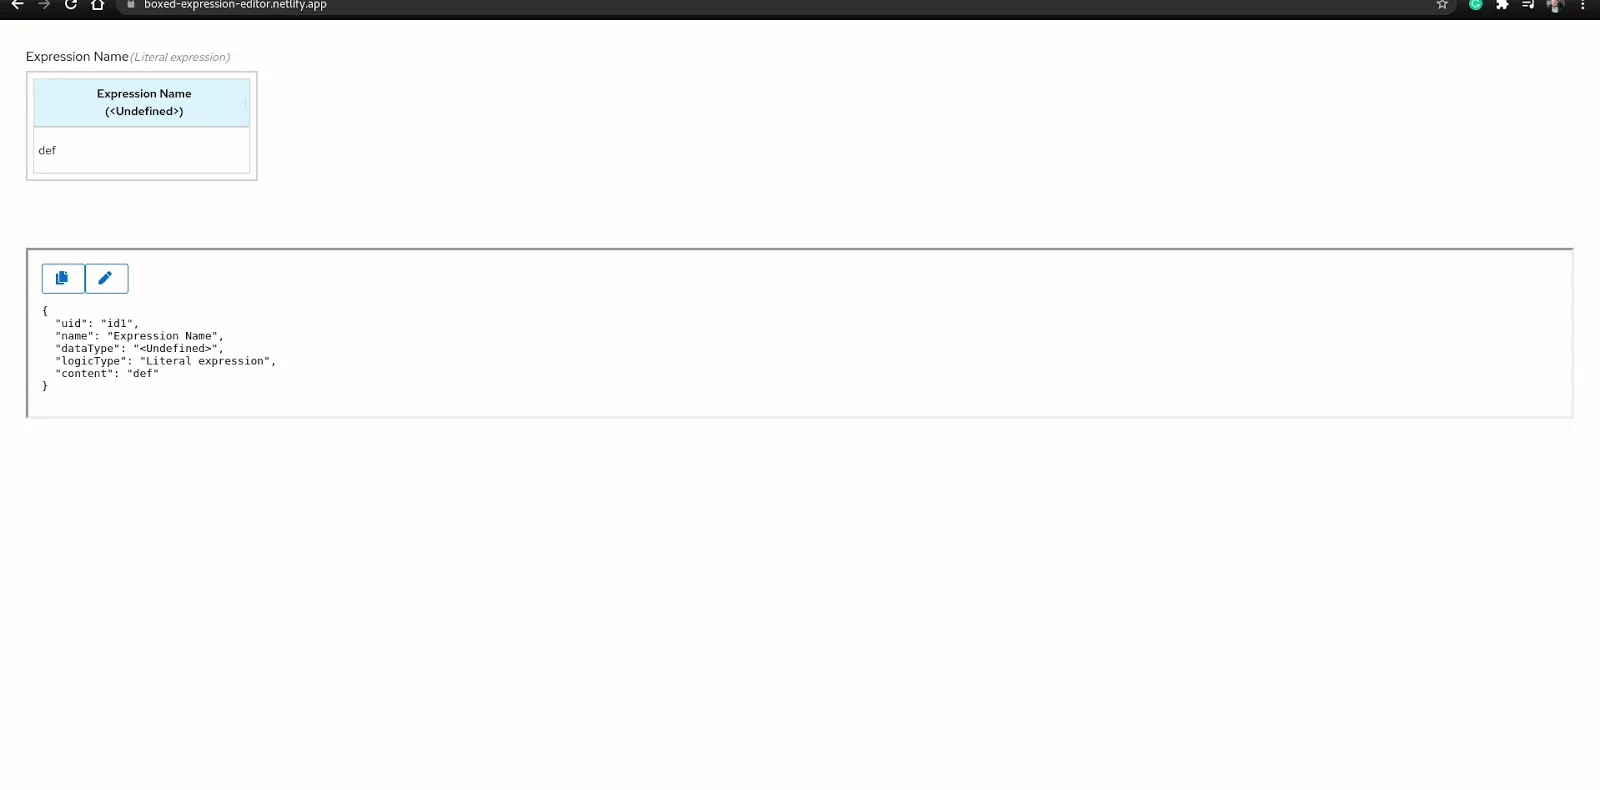
Conclusion
Developing complex user interfaces with React has become fast and fulfilling. But, typically, you will not create something that will live alone and need integration.
There are few techniques you can follow to make development easier.
For instance, a showcase application can help you to anticipate integration problems or to solve existing ones in three main ways:
- Show someone how the component will look like in a container, considering responsive constraints, if any.
- Watch the most updated version of the component definition while you are interacting with it.
- Pass a custom component definition to make it re-render as you need.
Stay tuned for understanding more how our components work under the hoods!
The post How to develop better web widgets with showcase applications appeared first on KIE Community.