How to Create a Leave of Absence Request in ProcessMaker (Part 2)
Blog: ProcessMaker Blog
For today’s post, we have Part 2 of Creating a Leave Absence Request (if you missed the first part, click here first). This second video demonstrates how to download the assets uploaded in Part 1 and approve the leave request in ProcessMaker 4.0.
Leave of Absence Part II from ProcessMaker on Vimeo.
Below, we have listed the sequence of steps needed to download the uploaded document and approve the request for your reference:
Step 1. Log into ProcessMaker 4.0 environment by inputting your username and password.
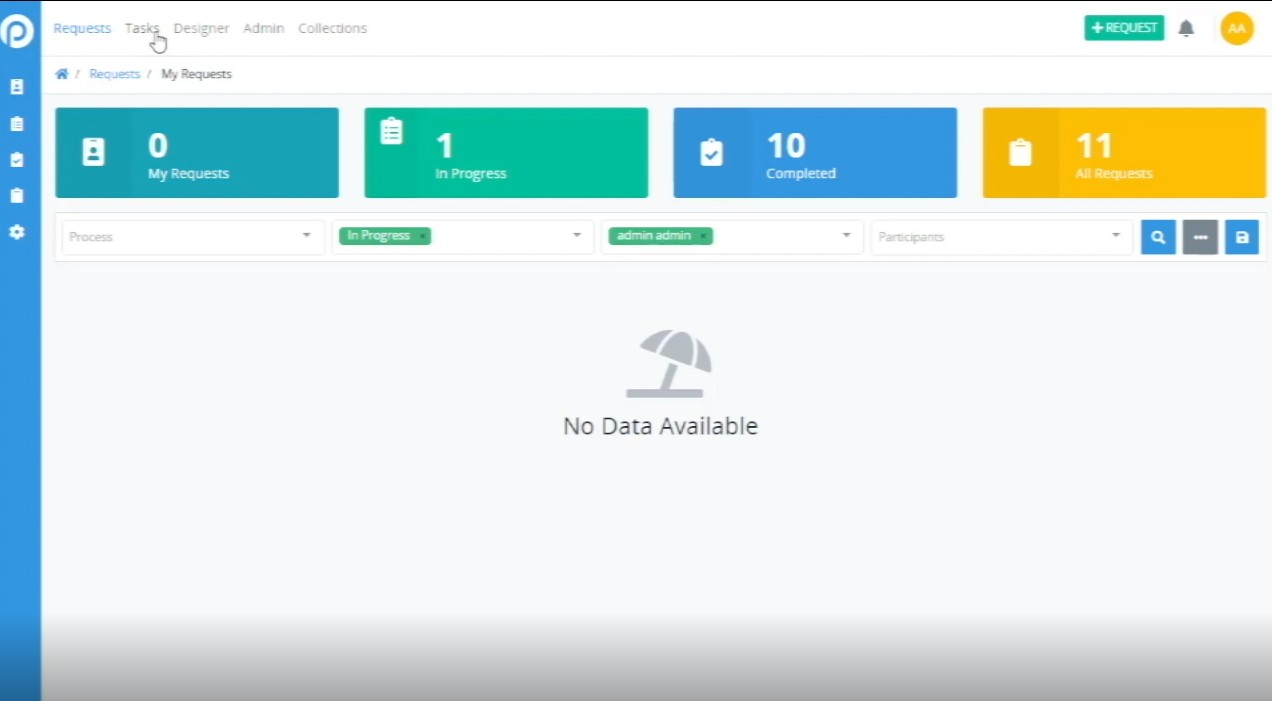
Step 2. Go to the top left-hand corner of your screen and click on the Tasks button. This is where you are able to generate your tasks in progress.
Step 3. Select the “Leave of Absence” task to open the task. From here, you’ll see the Leave of Absence Request form with the necessary fields already completed. 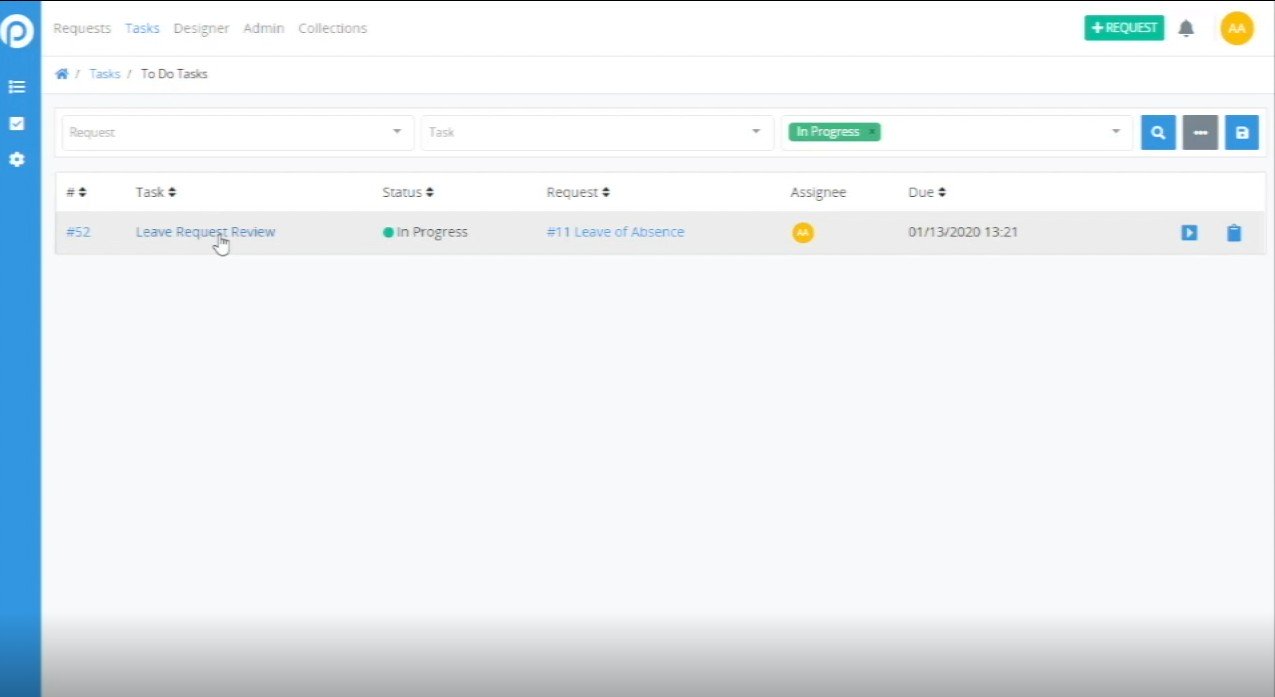
Step 4. Scroll to the bottom and click Download next to the asset uploaded in the previous video. In this case, the document is a business plan PDF.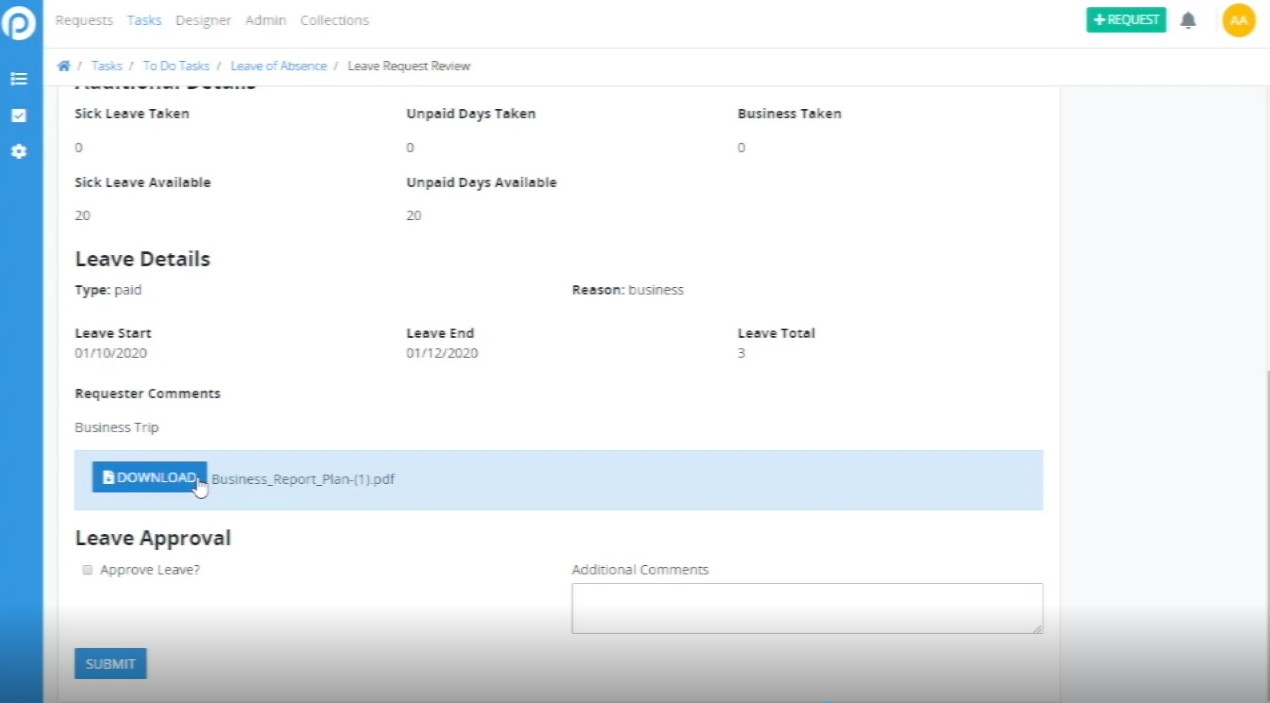
Step 5. Check the box that says “Approve Request” at the bottom of the form and then click the blue SUBMIT button to submit your leave request. 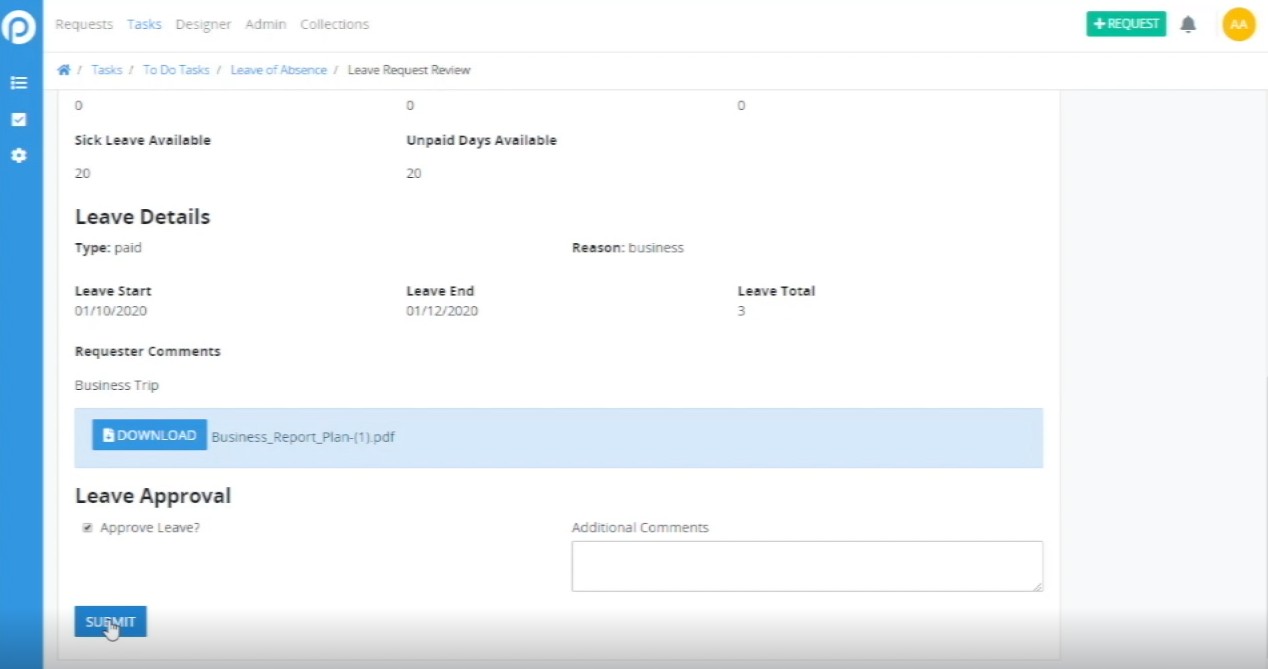
Step 6. After inputting the data, click the blue SUBMIT button to submit your leave request. After clicking SUBMIT, your screen will show a final “Task Completed Successfully!” message, notifying you that your submission was successful.

This concludes Part 2 of how to create a Leave of Absence Process using ProcessMaker 4.0! Stay tuned for our follow-up on Part 3 next Monday for how to continue this common HR process.
Curious to learn more?
Hundreds of commercial customers, including many Fortune 100 companies, rely on ProcessMaker to digitally transform their core business processes enabling faster decision making, improved compliance, and better performance. Schedule your free demo today to realize the potential of ProcessMaker.
The post How to Create a Leave of Absence Request in ProcessMaker (Part 2) appeared first on ProcessMaker.
Leave a Comment
You must be logged in to post a comment.